HANGING PICTURES PROFESSIONALLY
Hanging pictures on a gallery rail
The stylish solution for galleries, public buildings and private spaces. With gallery rails you can hang your picture frames on ropes in a height-adjustable way and rearrange them without any problems. Nothing stands in the way of an elegant and practical wall design.
We show you step by step how to install the gallery rails and hang your picture frames.
Optional paraphernalia:
- Line finder
- Cleaning cloth
Tools:
- Spirit level
- Pencil
- Hammer
- Drilling machine (if necessary with impact and suitable masonry drill)
Here's how it works:
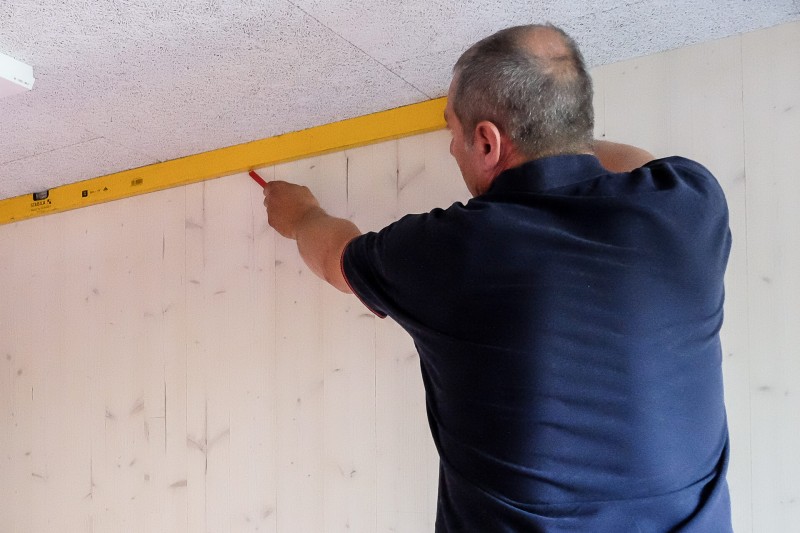
1. Mark drill holes
The rail is always mounted with a few cm distance to the ceiling in order to be able to drill clean holes and insert the rail. Mark the holes on a horizontal line at a distance of approx. 30 to 40 cm.
Our practical tip
Place a spirit level under the ceiling and draw a line with a pencil. This will give you an even distance to the ceiling, even in long hallways, and give you enough space to handle the drill - an important and often neglected aspect of design planning. Your auxiliary line disappears behind the gallery rail.


4. Insert ropes
Now you can insert e.g. our stainless steel ropes with Cobra hooks at any point from below into the gallery rail. If you use sliding hooks, push them into the side of the gallery rail before attaching the end caps.

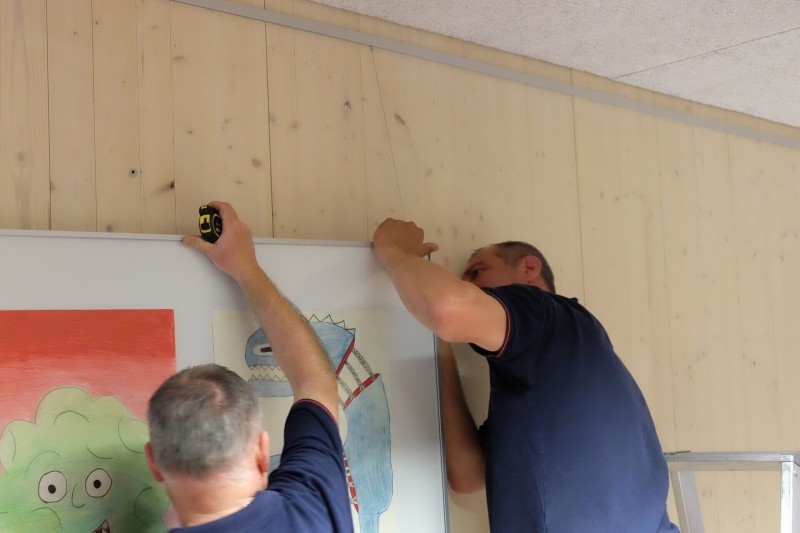
5. Hook in the picture frames
For hanging HALBE frames on ropes, we recommend the continuously height-adjustable HALBE fixing holders. Simply thread them onto the stainless steel ropes at the desired height and hook the picture frame onto them. You can use the spirit level to check whether the frame is hanging straight and adjust the fixing holders if necessary. Done!

Accessories:
- Screws and dowels (6mm diameter)
- Wall clamps
- Gallery rails and end caps
- Ropes (Perlon or stainless steel) with hooks
Required utensils
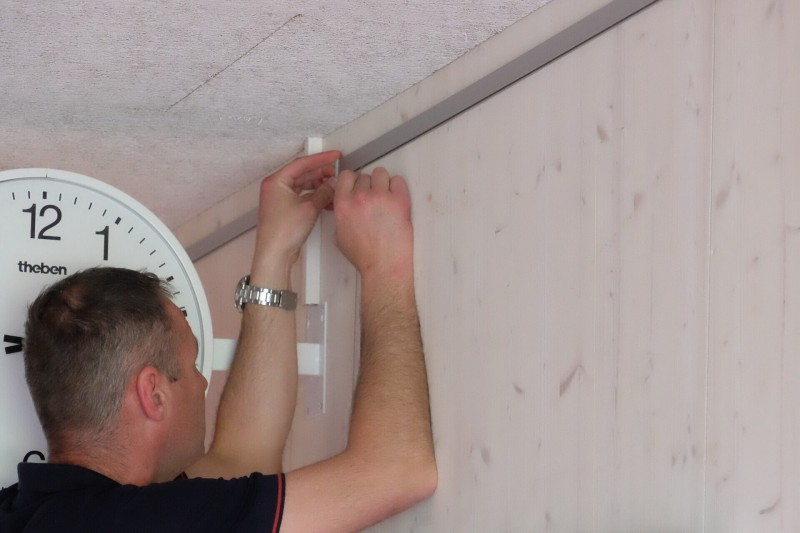
2. Screw on the wall clamps
Now pre-drill the holes with 6mm diameter, insert the dowels (if necessary with a hammer) and screw on the wall clamps.


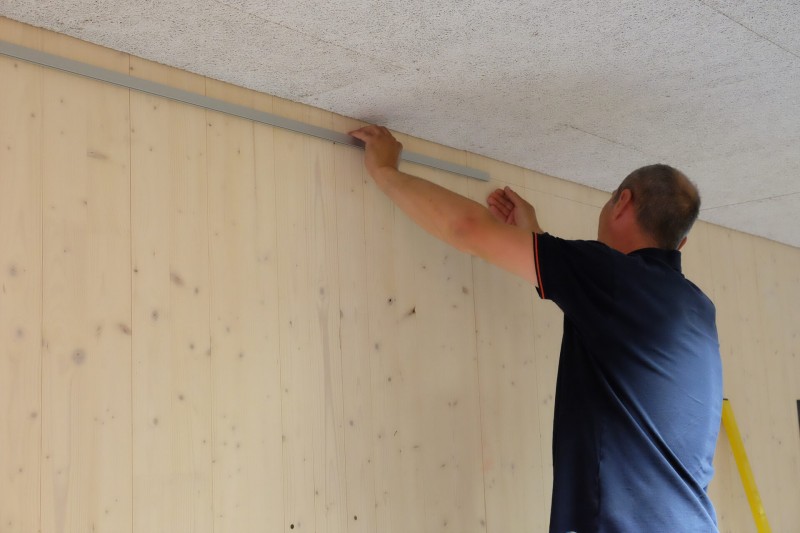
3. Attach gallery rails
Put the end caps on the end sides of the rails and clip the gallery rails diagonally from top to bottom into the wall clamps.
Video instruction
Would you like to get a better idea of how to install our gallery rails? In this video you can see how the professionals equip a wall with gallery rails.
Before installation
If you have decided to install gallery rails, the rails must first be ordered in the correct dimensions. To do this, get an overview of how many walls or rooms you want to equip with the gallery rails. For a more harmonious look and great flexibility, we recommend running the rails across the entire width of the wall.
It is best to order the rails directly made to measure, as it is difficult to cut them cleanly without suitable tools. To do this, you must first measure the necessary length. Leave 2-3 cm of space at the sides to make it easier to fit the rails and to insert and remove hooks later.
If you want to be absolutely sure that the rails will fit, measure the top of the wall, as walls, especially in older buildings, are not always at an angle and the length at the ceiling may differ.
As soon as your gallery rails cut to size and accessories have arrived at your place, you can start!


