

HOW TO HANG UP PICTURES THE RIGHT WAY
Hanging Pictures
When the picture is the star, the frame is the stage and the wall is the concert hall. Only perfect harmony creates an impressive experience.
When hanging pictures, the triad is created by the considered choice of the right picture frame, the appealing presentation and technically correct mounting in the picture frame, perhaps a proportionally designed passepartout, the unadulterated view through the ideal picture glass, and the creative wall design.
At HALBE we know:
"A picture is not complete until it has found its place on the wall. “
This concludes with the final step, the physical hanging of the painting.
To ensure that this is accomplished, we have compiled our expert tips and step-by-step instructions on how to properly hang picture frames on the following pages. With these, you can get your pictures on the wall in no time - like a pro.
Before deciding how best to mount your frames to the wall, it is important to consider the load capacity of the wall and the mounting option. For this it is important to know the weight of the frame:
A frame with Plexiglas has a weight per unit area of approximately 9 kg/m². Thus, a frame of 600 x 800 mm has a weight of approx. 4.32 kg (0.6m x 0.8m x 9kg/m²).
For a frame with real glass, one calculates with approx. 12 kg/m². For a 600 x 800 mm frame, this results in a weight of 5.76 kg (0.6m x 0.8m x 12kg/m²).
The weight of the object to be framed must be added in each case.
All information on the load capacity is given here for orientation purposes and does not provide any information on the individual load capacity of your walls. For the actual load capacity of hanging options, the wall condition must be checked on site and the load specifications of the manufacturer must be consulted.
There are basically four reliable means by which you can hang a picture in a picture frame on the wall. Which is the best solution for you depends on several factors.
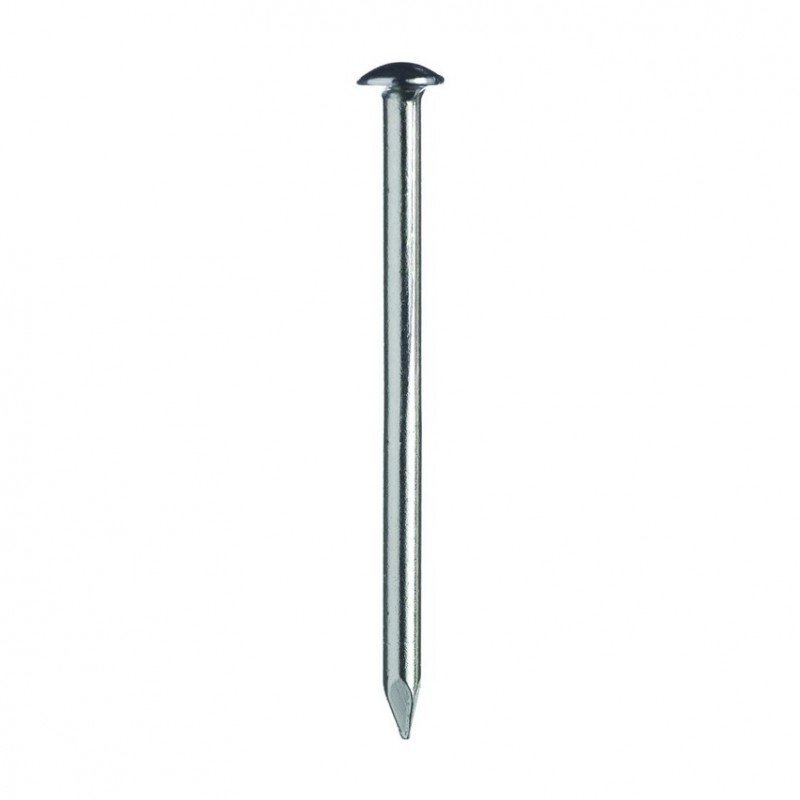
Nails
Hammer and nails are the easiest and quickest way to get a framed picture on the wall. For smaller frames they are often sufficient - if you want to hang the frames in the same place for a long time. Usually one nail is sufficient for frames up to DIN A3. For medium-sized frames up to approx. 700x1000mm, you should use two.
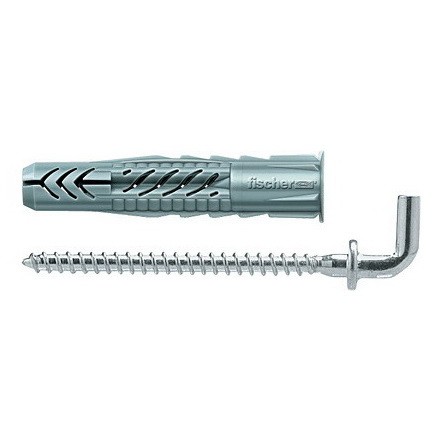
Screws and dowels
With the appropriate screws and dowels for your wall, you can easily hang medium to large frames if you don't want to change their placement often. They are also used for smaller frames if the wall is too porous for nails.
Frames up to approx. 1.6 m² can be hung on two screws, depending on the individual load capacity.
Adhesive hooks
At first glance, adhesive hooks are a convenient way to hang small frames without leaving permanent marks. For frames up to DIN A4, one adhesive hook should be enough, and frames up to approx. 400 x 500 mm should be able to hang on two hooks.
In general, however, we cannot recommend this type of fastening . Customer experience has shown that the adhesive hooks can detach from the wall after some time due to external influences.
Tip
- Small frames up to approx. A3 size can hang on one nail, although we recommend two nails so that the picture always hangs evenly.
- Medium-sized frames up to approx. 700x1000 mm can be hung on two long steel nails or screws.
- Larger frames up to approx. 1000x1600 mm can be hung on two screws with suitable dowels if the load capacity is sufficient.
- XXL frames over 1200x1400 mm should be hung on two angle screws or our special heavy-duty hooks, depending on the wall conditions, and very large formats in particular should be additionally secured with a picture lock 4 (BS4).
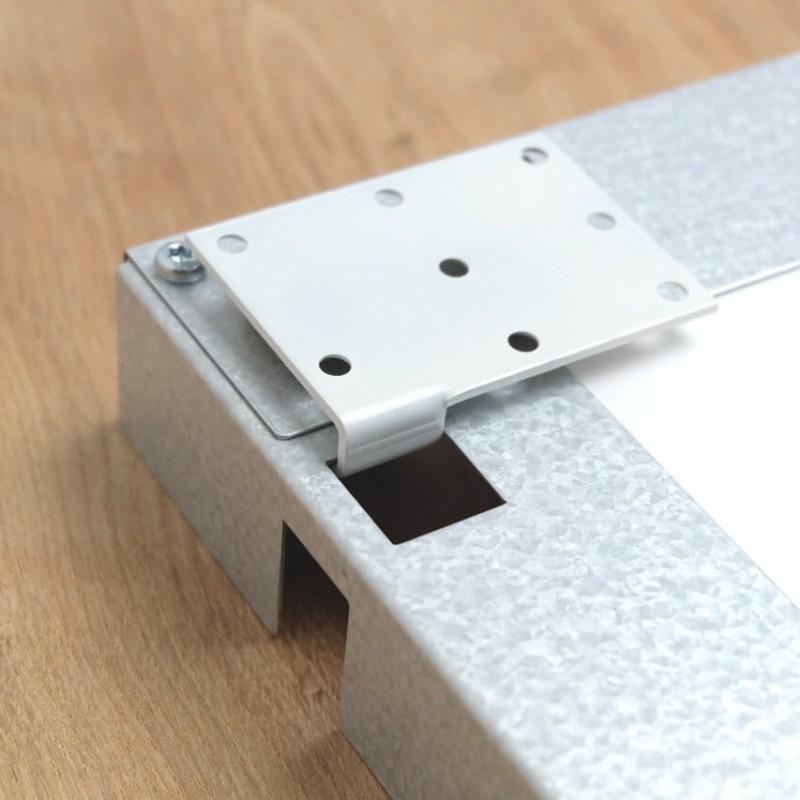
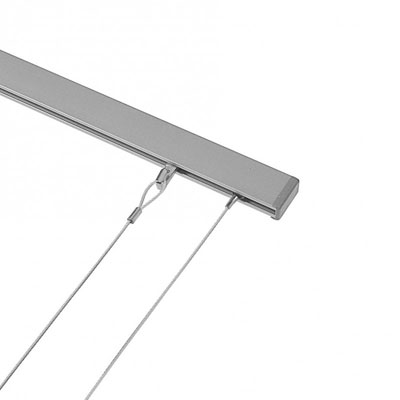
Gallery rails?
- The pictures hang side by side or one above the other from the ceiling on stainless steel or perlon cables
- No visible marks on the wall - this allows flexibility and easy replacement
- Gallery rails are more expensive, but a long-term possibility to present changing works stylishly and professionally (exhibitions, galleries, at home)
- Note: Picture frames on ropes always hang slightly tilted forward.
- On our website you will also find a detailed overview of the different hanging systems.
Tip
We recommend the stronger and more durable steel ropes, because plastic ropes can age due to UV radiation and then need to be replaced. With steel ropes, you are choosing the more sustainable alternative in the long term.
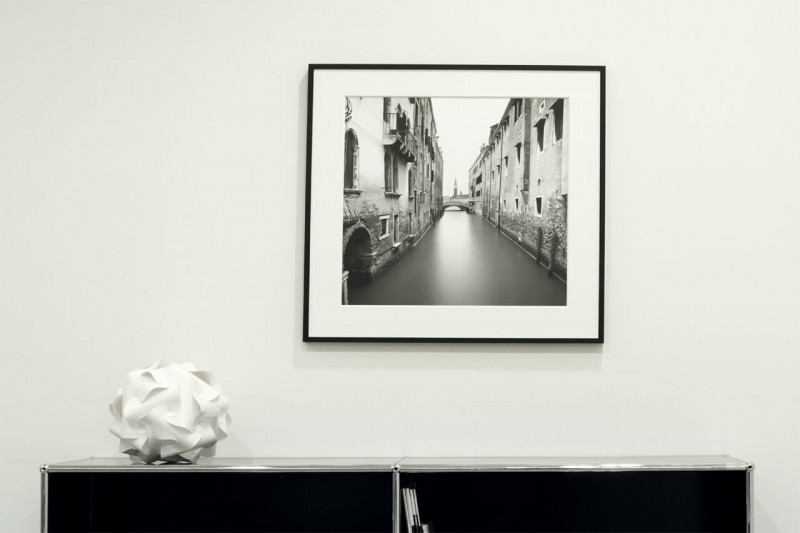
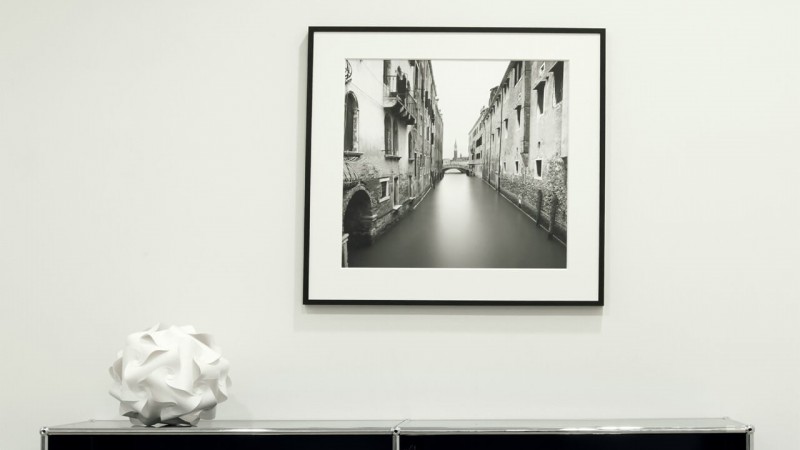
Hanging a single picture
The classic: Giving a beautiful memory or a special work of art a place of honour in the room is quite easy by hanging the picture individually on the wall. We show you the basics here.
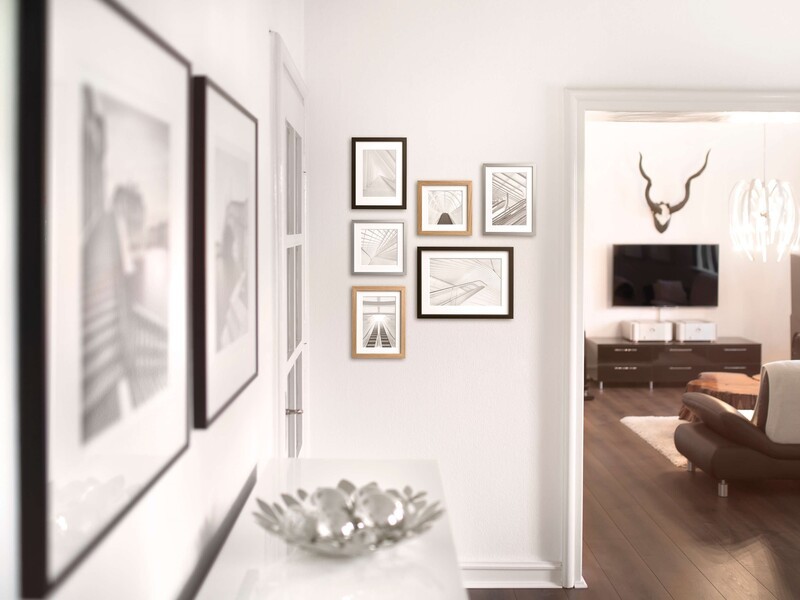
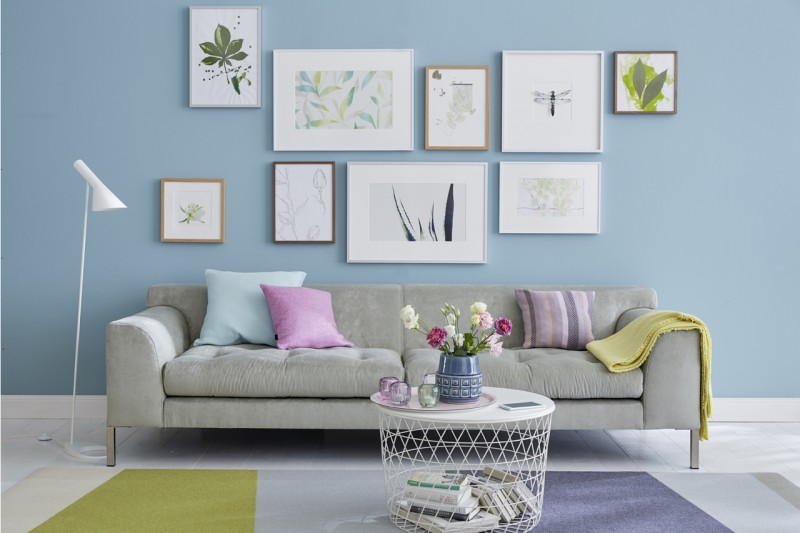
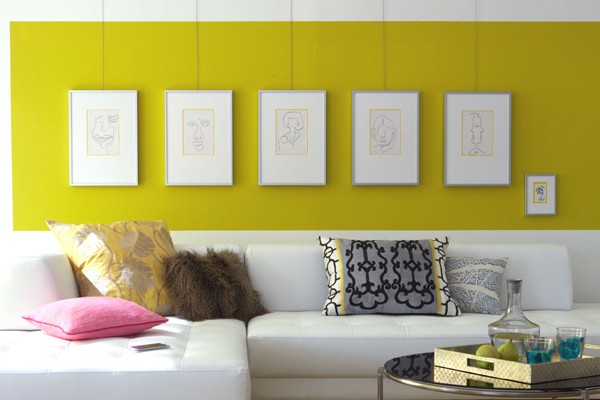
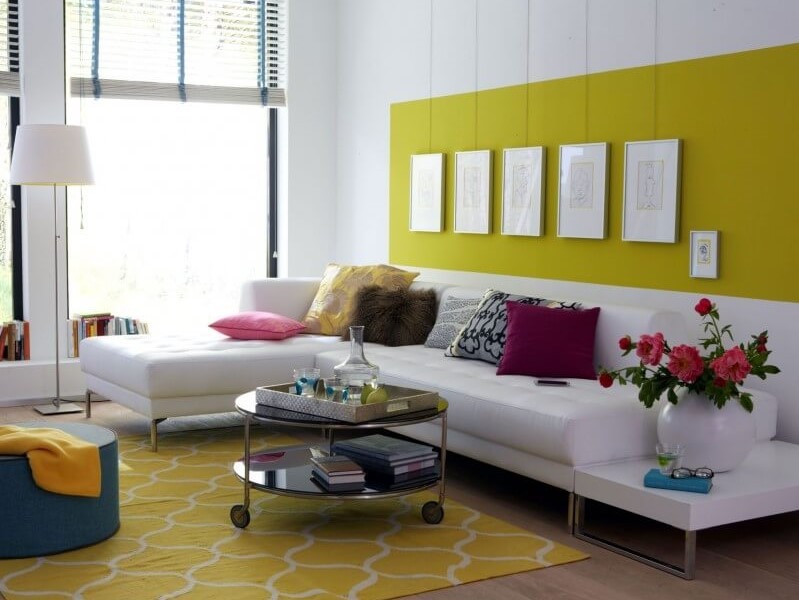
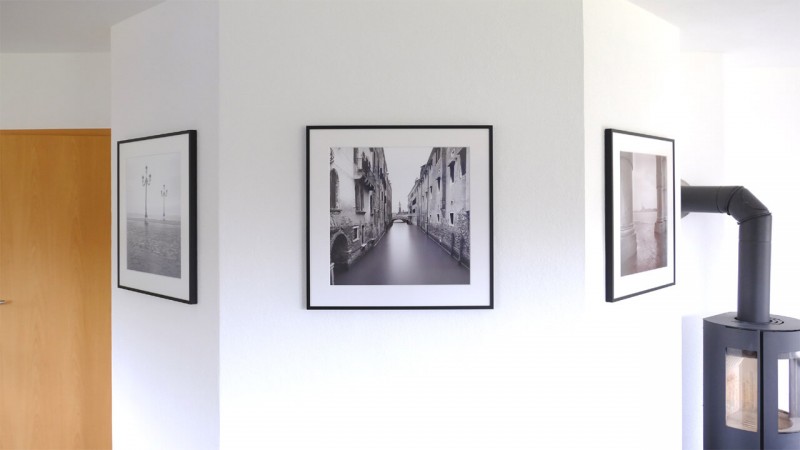
Hanging a series of pictures
Simply harmonious: photo series or thematically matching pictures look their best when they hang next to each other. We have the expert tips for a successful picture series.
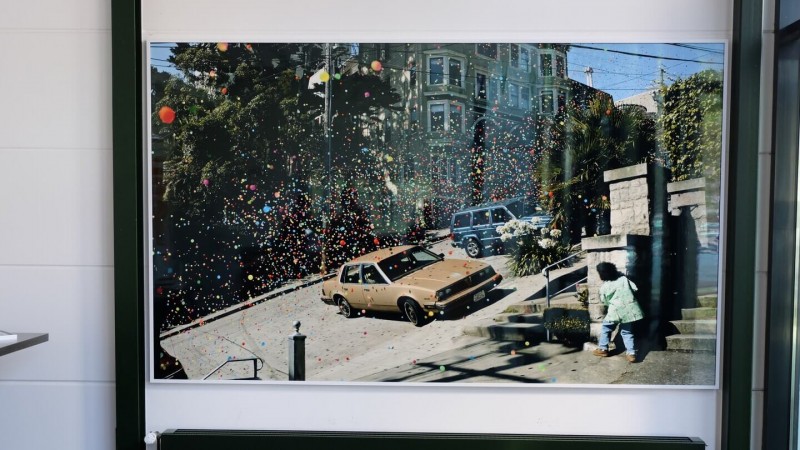
Hanging XXL frames
For the grand entrance: Special works deserve a special place. XXL art prints or photographs need a large frame. Mounting XXL picture frames involves some special features. We show you how to mount it safely on the wall.
Installing gallery rails
Stylish and flexible: If you want to put a lot of works on the wall and change their arrangement easily, gallery rails are the right choice. Learn how to hang your frames in exhibition quality.

Heavy-duty hooks
Special hooks are required for very large frames up to approx. 2000 x 3000 mm or walls with a low load capacity. XXL frames quickly weigh more than 20kg - special heavy-duty hooks which distribute the load over several screws are highly recommended.
Especially with such large frames, the load capacity must be carefully checked. An additional picture lock BS4 prevents the frame from slipping off the hooks in case of accidental impact.
Ropes on gallery rails
Gallery rails are ideally suited for public spaces or a stylish presentation in the living room. The frames are attached to ropes with hangers and can be flexibly moved horizontally and vertically - without leaving visible marks on the wall.
Please also read our detailed information on hanging systems.
Nails or screws?
- Frames hang freely on the wall without visible hangers
- The arrangement possibilities of several picture frames are limitless
- Both variants leave visible holes in the wall - the frames should hang there for a long time
- With the right screws and dowels, frames can be fixed to any wall (taking into account the weight, nature of the wall and individual load-bearing capacities)
Once you have selected one or more works for presentation on the wall, there are still some important aspects to consider. We will guide you step by step to the optimum solution so that you can enjoy your HALBE frames and your picture wall over a long time.
Determine the right position
Often you decide on the position of the new picture based on fixed lines or points in the room. This can be, for example, the middle of a dresser or a niche in the room. If the picture is to be placed in relation to a horizontal line (sofa back, side table, etc.), you can make sure that the bottom edge of the frame is no further than about 35 cm from the bottom edge of the piece of furniture.
A rule of thumb you can follow in any case is the museum rule: here the ideal height for pictures is 155 cm from the floor to the centre of the picture. This way the picture hangs approximately at eye level.
Quick and easy picture wall
Your individual needs play a big role in picture hanging. If you want to put a family or holiday photo on the living room wall quickly and easily, nails or screws are the best choice. If you want to create an entire picture wall, this invisible hanging method also gives you the most freedom in arranging them. For fixed places in the commercial environment, pictures are also the fastest way to get on the wall.
Elegant and flexible picture wall
However, you should note that this method leaves visible traces in the wall later. If you want to change your wall decoration frequently without repainting, using nails or screws creates many holes that need to be covered again later.
Therefore, before hanging them, think about whether you want your pictures to hang in the same place for the foreseeable future and if they will fit in with your wall design.
Wherever a lot of pictures will be moved frequently, it is recommended to invest in a hanging system of gallery rail, ropes and hooks. This is also a good option if the walls must not be damaged, for example, for monument protection. The frames can be flexibly exchanged and positioned.
Tip
You want to use nails or screws and already have the perfect place in mind for your new picture? To be on the safe side, you can make a rectangle the size of your frame out of newspaper or cardboard, for example, and attach it to the wall with adhesive tape. This will give you a feel for how the frame and space will interact and ensure that the frame doesn't look crowded or lost in its place. The same goes for planning a picture wall.
You can also find more information on wall design in our knowledge section.

The load-bearing capacity and nature of the wall
High-quality framed works quickly become heavy. Particularly large formats bring a stately weight on the scales. Here, approx. 12 kg/m^2 are realistic. This means that a 1.2 x 2.4 m picture quickly weighs 35kg. Therefore, when hanging pictures, the load-bearing capacity and condition of the wall must also be taken into account.
A brick wall is no problem. Thinner drywalls or mobile exhibition walls are often less loadable. Here, the load-bearing capacity of a nail can be exhausted with just a few kilos. Generally speaking, different structures require different accessories. For example, special dowels and screws can be used to hang somewhat heavier work securely on the rigging wall.
Important: When choosing nails, screws and dowels, you should always also follow the manufacturer's instructions on suitable substrates and load-bearing capacity.
The construction methods of walls and the load-bearing capacity of nails, anchors and screws are as varied as the art to be hung. Therefore, we cannot give a generally valid recommendation. Here, the situation must be assessed on site itself, or in case of doubt, a specialist must be consulted.
As a rough guide, a long nail should be loaded with max. 5kg and a screw with max. 10kg.
Tip
In the configurator, the weights of the frames are given without picture and passepartout. You can weigh the frame with its picture on a bathroom scale to determine the total weight. A rough guide value to estimate is approx. 12kg/m^2.
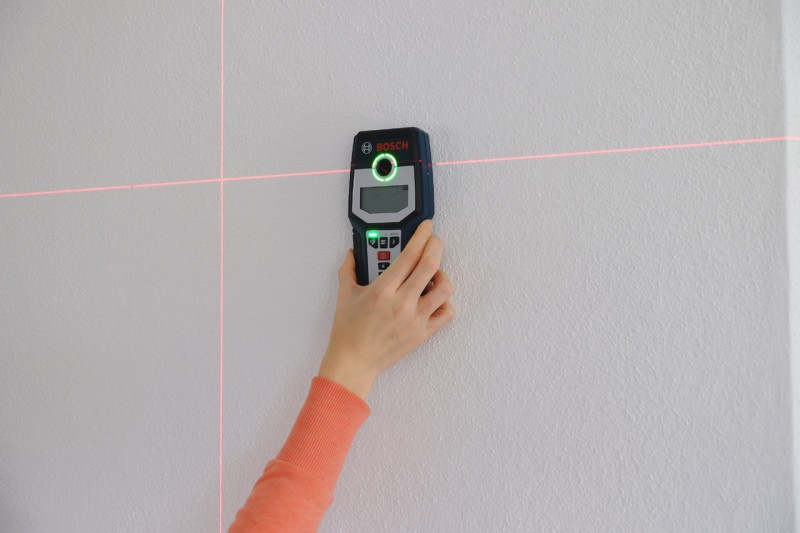
Also, before you hammer or drill, be sure to determine if there are any water or power lines behind the planned holes. This will help prevent injury and possible damage. You can do this by consulting blueprints or using a pipe locator.
Also check the position of the planned holes again to avoid unnecessary marks on the wall.
The environment
When there is public traffic such as in schools, museums or even in staircases, there are a few dangers to consider.
If you yourself or visitors can bump into the frame, we recommend securing it against falling down. This is especially important for valuable works and in narrow stairwells, schools or other buildings where there may be crowding. Very large works can be additionally secured with the picture lock BS4.
In public areas, pictures can also be protected against unauthorised removal. Smaller frames in particular are otherwise easily taken away unnoticed. This is where the combination of angle screws and BS4 comes into play.
On our website you will also find further information on picture locks.
Note: In public rooms or escape routes, fire-resistant picture frames such as the HALBE B1 magnetic frame are often required.

You have framed your works, decided on the perfect place and a fixing method? Then nothing stands in the way of your wall design! Whether you want to hang single pictures, a row of pictures, very large frames or frames on gallery rails - here we have put together simple step-by-step instructions so that you can realize your ideas:
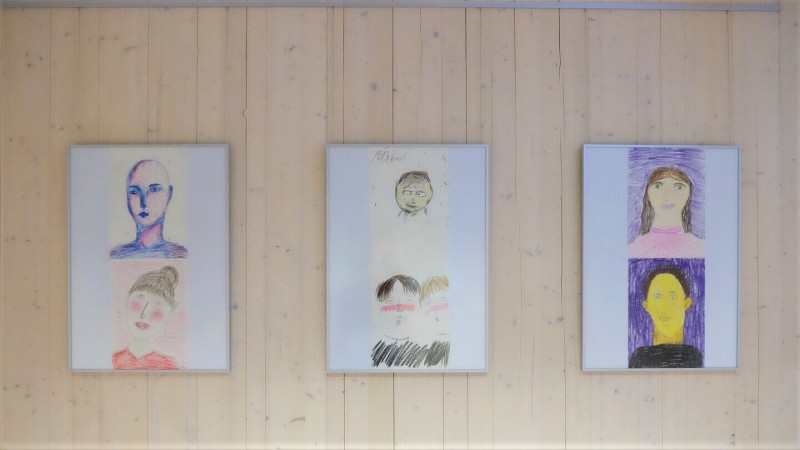
Alternatives without picture frames
A picture will not always be presented in a frame. We know from our children's rooms: Posters and self-painted pictures are also gladly attached to the wall with tape or pins. Besides the presentation in a picture frame, this open hanging can have its charm. In this way, you can create interesting exhibitions with limited budgets or street art works.
However, these mounting alternatives also have decisive disadvantages. Particularly thin or matt papers are quickly damaged by the pressure of the clamps or magnets. In addition, they offer no protection against environmental influences. For this reason, they are not suitable for long-term hangings, valuable works or pictures with high conservation requirements. Picture frames are often the only option here.
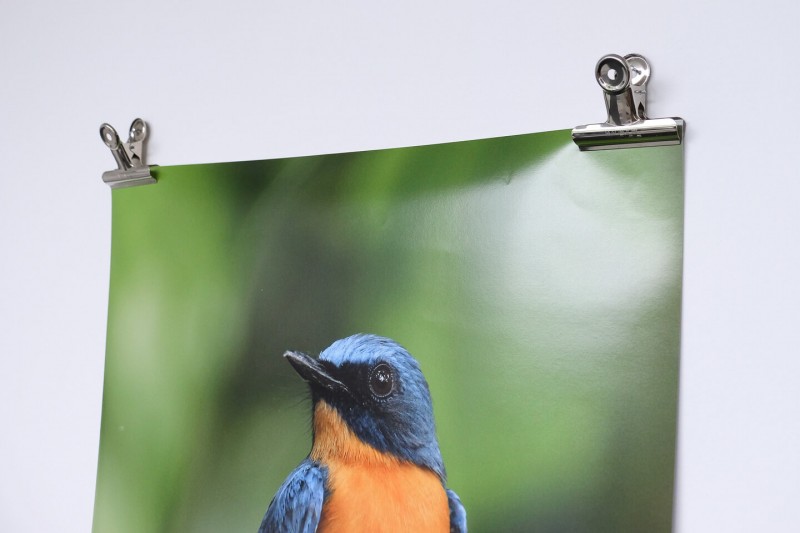
Clamps
Large jaw clamps or foldback clamps are a good choice here: They hang well on nails or small hooks, can be removed with almost no residue, and are sturdier than pins.
Here's how: Attach the clips to the top edge of the poster. Hold the poster against the wall to find the right position and height. Now you can easily mark the hanging holes on the wall with a pencil. Make sure that the marks are horizontal. Now you just need to hammer in the nails or fasten the screws, and you can hang the poster on the clamps.
Magnets on ropes
Another interesting possibility with DIY character: Hang pictures or posters with small magnets on gallery rails with ropes. If gallery rails are already installed, posters without frames can be hung up easily and flexibly with this method.
Here's how: Stick self-adhesive disc magnets (e.g. neodym 15x1 mm) on fixing holders or knurled screws. These are placed on the ropes in the correct position for the upper corners of the poster. Then the sheet is simply fixed with small magnets from the front. Alternatively, additional self-adhesive disc magnets can be attached to the back of the poster so that the magnets are not visible from the front.


Attach self-adhesive disc magnets to the fixing hanger
Attach the poster with disc magnets
Once you have determined the right place for your pictures, you're almost ready to go. Before you unpack the tools, you should take a closer look at the hanging area and the surroundings.