

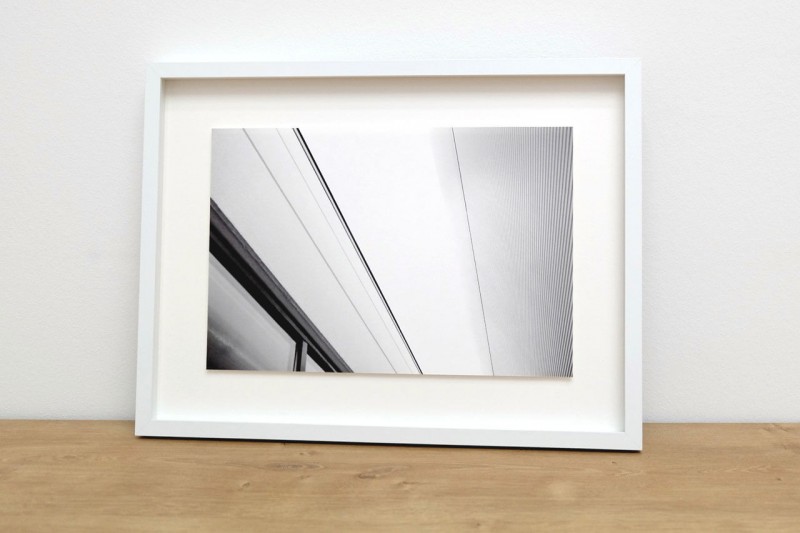
A FLOATING WORK OF ART
Picture free floating mounted on a pedestal
The picture looks as if it is floating in all dimensions in your DISTANCE magnetic frame. The shadow gap between the object and the back wall creates a very special depth effect. This presentation is suitable for smooth works and straight edges that would not cast a shadow without the additional distance and thus lose the 3D effect. Your image is fixed on the back and it is smaller than the frame. The glass does not rest on the object. This is a mounting variant for small up to large and heavy works.
Optional utensils:
- gloves
- hand brush
- cleaning cloth
Tools:
- steel ruler
- soft pencil
- sharp knife
This type of mounting is suitable for:
This type of mounting is ideal for work on stable and insensitive substrates such as Alu Dibond panels. But also for objects with sensitive surfaces. This also includes prints and photos on stable carrier material. This method can also be used for very heavy work. When removing the picture from the frame, adhesive residues remain on the picture, but they can be easily removed from the Dibond plates.
This type of mounting is not suitable for:
This type of mounting is not suitable for work without a stable carrier material such as Alu Dibond, because normal paper cannot be removed from the pedestal.
Here's how it works:
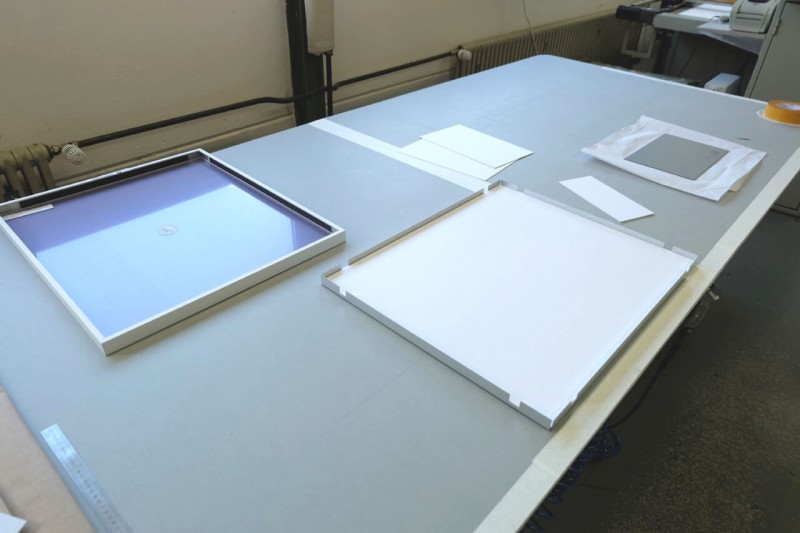
1. Open frame
Open your picture frame and place accessories and tools at hand.
2. Flip image
Flip the image over and place it on a soft and clean surface. Tip: If there are signatures or certificates of authenticity on the back, do not paste them over.
3. Measuring
Measure the required pedestal size. In our example, we move the pedestal about 45 millimeters inwards, so it is not visible in any case. It is recommended to choose the passepartout cardboard for the pedestal in the same colour as the background cardboard of the DISTANCE magnetic frame.
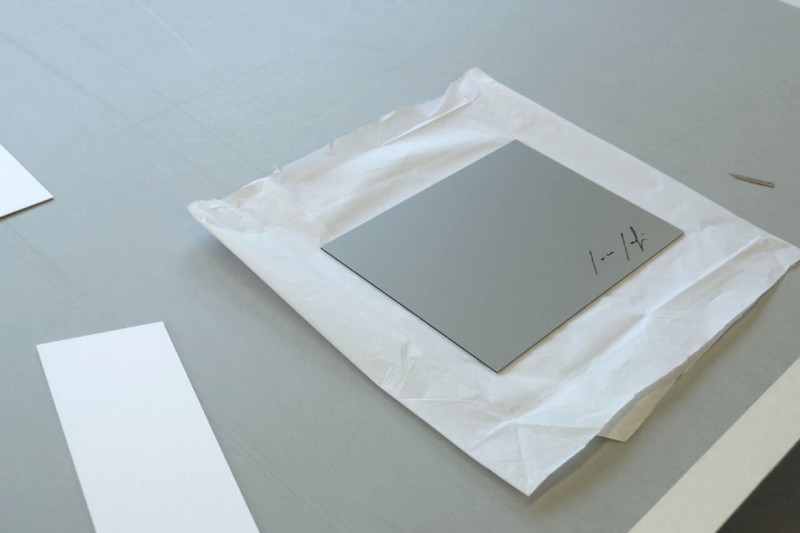

7. Fix the pedestal
Now peel off the silicon paper on one side and glue the pedestal to the back of the work.
8. Determine position
Since the dibond material is absolutely stiff and the adhesive tape adheres immediately, it is important to determine the exact position of the object before loosening the silicon paper on the second side. Use the 1.5 mm thick cardboard as a positioning aid. This serves to give the pedestal a stop in width and height to which it is then aligned.
9. Insert auxiliary strips
Insert the auxiliary strips into your picture frame. In our example we work with a stop at the top right.
4. Marking
Now mark the position of the pedestal. Since Dibond material is very easy to clean, you can mark directly on the object.

5. Check
Check that the pedestal size and position match.

6. Glueing
Cover both sides of the pedestal with Gudy 831 Fine Art Smooth adhesive tape. If signatures or certificates are under the pedestal surface, they must be left out.


Accessories:
- Gudy 831 Fine Art Smooth, 30 m x 38 mm
- 3 mm passe-partout cardboard base
- cardboard strip 1,5 mm as an aid for placement


11. Marking
If everything is correct, mark the outer edges of the image on the auxiliary strip. This serves as orientation in the next step. Tip: It is best to try positioning against the stop "dry".
12. Peel off silicone paper
Now peel off the silicone paper. This works best with a knife tip. This makes it very easy to lift and peel off the silicon paper.
13. Gluing in
Move the work lightly from the front left down, to the rear right up against the stop. Tilt the work slightly so that it touches an edge without the adhesive surface touching the back wall.
10. Inserting & checking
The picture with the pedestal can be inserted into the basic element to check the position. Note that the silicon paper has not been removed in this step.


14. Pressing on
Then press on the work with a protection from the front.
Tip
For example, you can calculate the auxiliary strips this way:
Frame: 400x500 mm
Picture: 300x400 mm (circumferential 50 mm edge)
Pedestal: 200x300 mm (circumferential distance 50 mm)
Strip width: 100 mm | Length: 2 strips approx. 300 mm
Tip: It is best to determine the size of the pedestal and strips in advance and order them together with your frame.
Required utensils


Buy used articles in the shop

15. Remove strips
Now remove the auxiliary strips from your picture frame.


16. Insert distance strips
Reinsert the distance strips. Note that the end of a strip must sit on an outer edge.
17. Push the distance strips together
Slide the distance strips against each other so that they snap into place and create a gap-free corner.


18. Cleaning
Carefully remove dust and foreign objects from your picture with a hand brush.
19. Insert glass
Insert the glass. With this size, be particularly careful. Then wipe off dust and fingerprints thoroughly with a cleaning cloth.
20. Framing
Place the overframe on top and press lightly against it. The picture frame closes quickly and easily thanks to our magnetic frame principle.


21. Checking
Make sure that the paper is held by the corners and that the center does not bend forward.
22. Finished with framing
Examine your specially framed work of art. The floating effect is very effective, gives your picture even more charm and sets it in scene perfectly.
Tip
The color of the back wall cardboard should be a shade darker or more yellow than the paper of the picture. So the picture looks whiter, fresher and newer.
