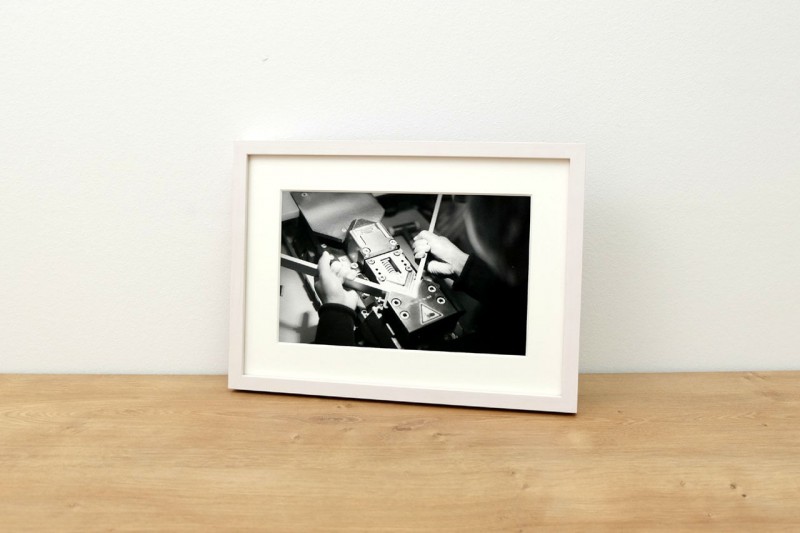
CLASSICAL FRAMING WITH PASSEPARTOUTS
Picture covered in passepartout mounted backside
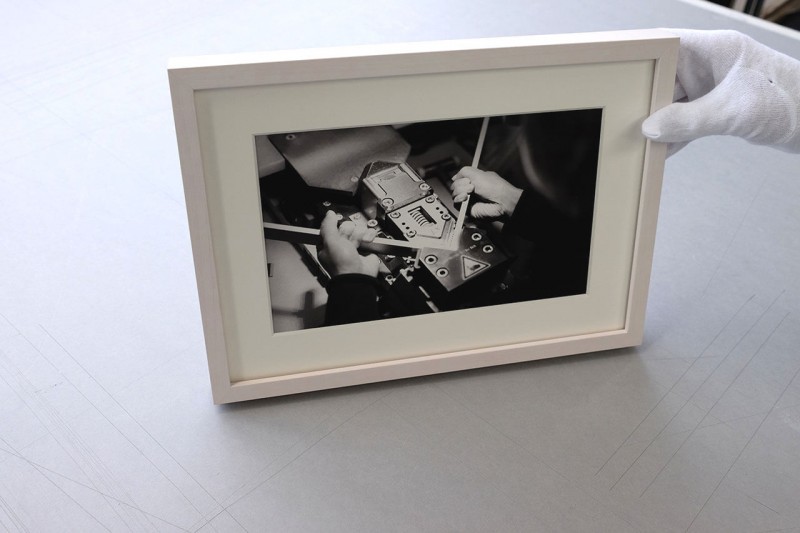
Framing with passepartout is one of the most classical types of framing. The white border gives your work of art a perfect stage and it will be shown to its best advantage. The picture is smaller than the picture frame and the glass has no contact with the object.
Optional utensils:
- gloves
- hand brush
- cleaning cloth
Tools:
- steel ruler
- sandbag or empty water glass with rounded bottom
- soft pencil
This type of mounting is suitable for:
This type of mounting is an ideal method for flat paper works such as: prints, photos, drawings, sketches and documents, but also posters, art prints and fine art prints can be framed with it. The glass does not rest on the picture, so sensitive surfaces are well protected.
This type of mounting is not suitable for:
Since it is difficult to remove the picture from the back wall cardboard later on and adhesive residues can remain, this type of mounting is not suitable for valuable pictures and originals.
Here's how it works:
1. Preparation
Open your picture frame and place the tools in front of you.
2. Positioning
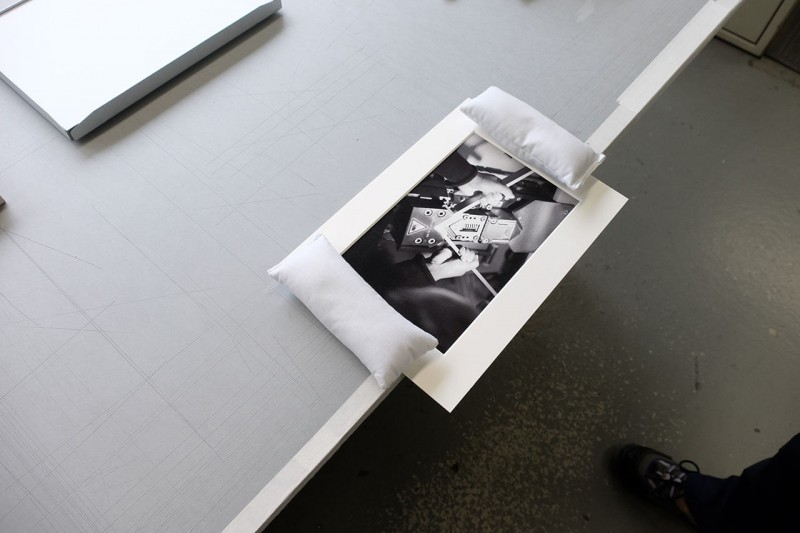
Place the image with its top edge over a table edge so that it protrudes.
3. Place the passepartout
The passepartout can now be placed on the image.


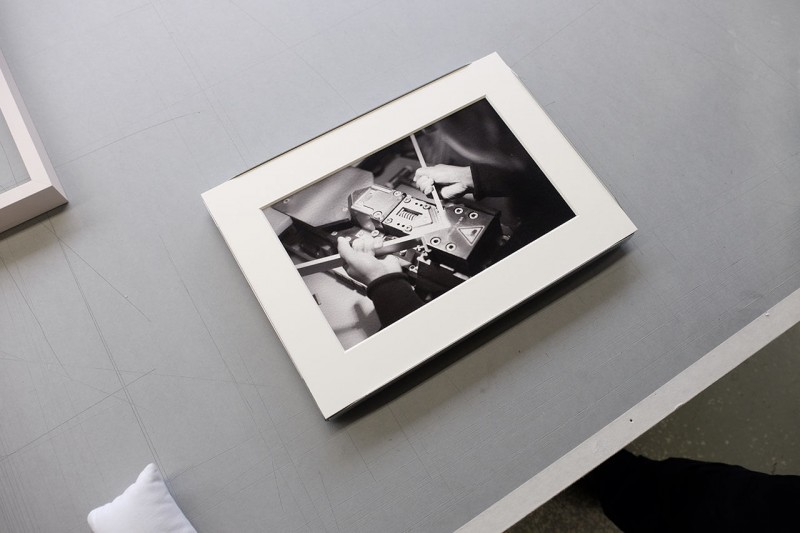
7. Adhesive bonding
Apply the strips from behind, one half on the picture and one half on the passepartout and press them down well. Glue the strips slightly inwards.
8. Inserting
Now insert the passepartout with image into the basic element.
9. Cleaning
Carefully remove dust and debris from your image.
4. Alignment
Position the item by eye. Make sure there is an even overlap. Ideally, 5 millimetres are required all around. Precise measurement is difficult and not necessary. In particular, tight overlaps are best aligned by eye.
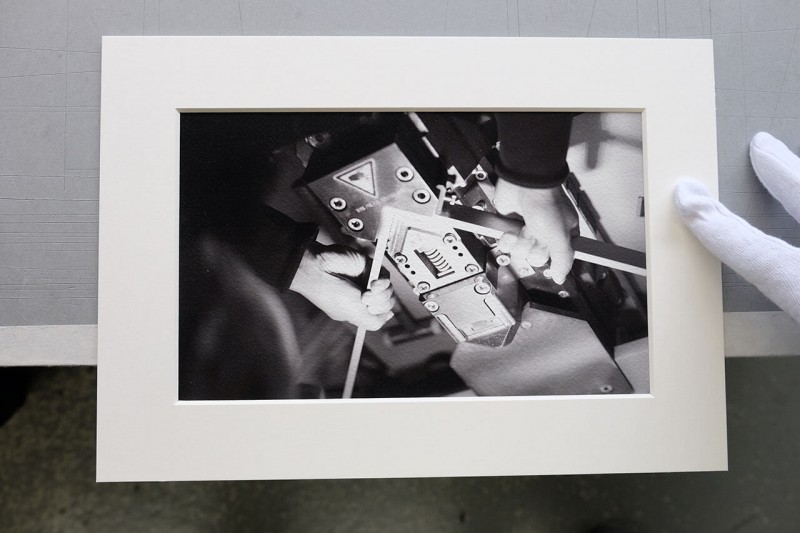
5. Fixing
Place a sandbag or empty water glass in the middle of the image to prevent it from slipping.
6. Prepare gluing
Now tear off strips of the P90 seam paper. In our example, two strips of about 15 millimeters are sufficient.



Accessories:


11. Framing
Reassemble your picture frame by placing the upper frame on the element. This is quick and easy because the frame closes magnetically.
12. Done
You will be enthusiastic about this fast mounting method and the passepartout will give your artwork the stage it deserves.
10. Insert glass
Carefully place the glass back on the base element and use a cleaning cloth to remove dust and fingerprints.
Tip
The color of the back wall cardboard should be a shade darker or more yellow than the paper of the picture. So the picture generally looks whiter, fresher and newer.
Required utensils
Buy used articles in the shop


Tip
Larger and heavy works are best mounted with several short strips and/or Tyvek adhesive tape. The procedure is the same.

Tip
In particular, do not flip over large works on thin paper. This avoids creases.

Tip
Large works can be easily pulled sideways onto the basic element when a second person is holding it flush with the edge of the table.


