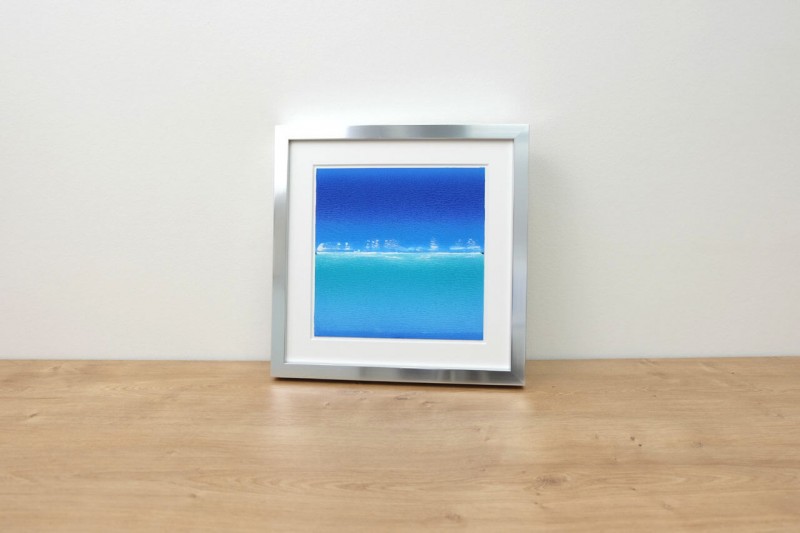
ENJOY YOUR WORK OF ART IN ALL ITS GLORY
Picture exposed in folding passepartout mounted with Gudy Dot
The framing of pictures with passepartouts is one of the most classic types to be found. To show a picture "free", i.e. without overlapping in the passepartout, lends a special optical attraction to the representation. The picture is shown to advantage in its full size and is particularly suitable when the edges are to become visible. The three-dimensional interplay of the edges perfectly sets the scene for your picture. The picture is smaller than the passepartout cut-out and the picture frame. In addition, the glass does not lie directly on the object.
Optional utensils:
- gloves
- hand brush
- cleaning cloth
Tools:
- steel ruler
- sandbag or empty water glass with rounded bottom
This type of mounting is suitable for:
This type of mounting is ideal for flat paper work with sensitive surfaces. This includes prints, photos, drawings and sketches, but also pastels, chalk drawings, as well as acrylic and oil paintings on cardboard. The fact that the glass does not rest on the picture makes this type of mounting particularly suitable for sensitive or uneven surfaces.
Folding passepartouts are also well suited for frequent image changes, as the passepartouts lie protected on a rear wall, are easy to remove and can be safely stored.
This type of mounting is not suitable for:
Very heavy works exceeding a 3 mm passepartout should not be mounted using this method. The DISTANCE magnetic frame is an alternative here. Since it is difficult to remove the picture from the back wall cardboard later when mounting with the Gudy Dot Roller and adhesive residues can remain, it is not suitable for valuable pictures or originals.
Here's how it works:
1. Preparation
First open your picture frame, place the required utensils in front of it and then lay the folding passepartout closed in front of you.
2. Positioning
Place the picture in the desired position on the back wall cardboard of the passepartout by eye measurement.
3. Check
Check the fit and proportions of your image in the passepartout. When everything fits, put the image to the side.


7. Press-on
When everything fits, press on the picture well.
8. Fold out
Now unfold the passepartout.
9. Cleaning
Use the hand brush to carefully remove dust and foreign objects from the picture and back cardboard.
4. Apply glue
Now apply the tape to all four corners. In our example, four strips of 25 mm length are sufficient.

5. Lay on
Now position the image again and place it by eye to the desired position on the back wall cardboard of the passepartout. With strong papers with Gudy Dot, as in our example, you should place the picture carefully and without pressure in the cutout. So it can still be moved.

6. Measuring the position
Works with uneven edges are best positioned by eye measurement in the cut-out. Other objects on the other hand can be easily measured.


Accessories:


11. Insert glass
Carefully place the glass back on the base element.
12. Wipe off
Use the cleaning cloth to remove dust and fingerprints from the glass.
13. Put on the frame
Put the magnetic frame back on and press it lightly. The HALBE magnetic frame principle makes closing the frame quick and easy.
10. Inserting
The folding passepartout with the picture can now be inserted into the basic element. Also consider the thickness of the folding passepartout in the insertion depth of your picture frame.


14. Ready
The free mounting with the Gudy Dot Roller allows your picture to show off its full glory in the passepartout. Create the perfect stage for your artwork and enjoy the stylish presentation.
Tip
The color of the back wall cardboard should be a shade darker or more yellow than the paper of the picture. So the picture generally looks whiter, fresher and newer.
Required utensils
Buy used articles in the shop

Tip
Even larger and heavier works can be presented in this way. In this case, however, stronger adhesive must be used. For example, the Gudy 831 in sizes 30 m x 9 mm or 30 m x19 mm.

Tip
With other adhesives that adhere immediately, the image must be positioned correctly beforehand, as it can no longer be moved. To do this, weigh the image down and then bend it up to set the glue dots. The dots are then placed at the bottom.


Tip
Depending on the image thickness, a 1.5 millimetre or 3 millimetre passepartout must be selected. If in doubt, it is better to choose a thicker passepartout to prevent the glass from resting on the image.

Tip
Depending on the overall size and proportions, the cutout should be 10 to 20 millimeters (circumferential 5 to 10 millimeters edge) larger than the image. Be sure to measure from all sides and check the angles, as images can also be crooked. For works with very different widths, it is better to choose a larger edge width for the passepartout in order to optically align the image.
Further possibilities to use a folding passepartout:
Folding passe-partout motif free - Klug photo corner - Classic
Folding passe-partout covered - Photo corner clear - Classic


