Easy and fast framing in DISTANCE with gudy®Roller.dot
When framing a picture, a few technical tips might help - for example, it's important to pay attention to where the glue is applied. Tools also make the work easier. That's why we would like to introduce here the framing in DISTANCE with the gudy®Roller.dot. This puts the picture in a kind of "floating state" and papers full of character with a deckle edge or wavy watercolors come out perfectly. Mounting with the gudy®Roller.dot is very easy and quick and is suitable for small and light pictures without high conservation requirements.

Fixing the picture
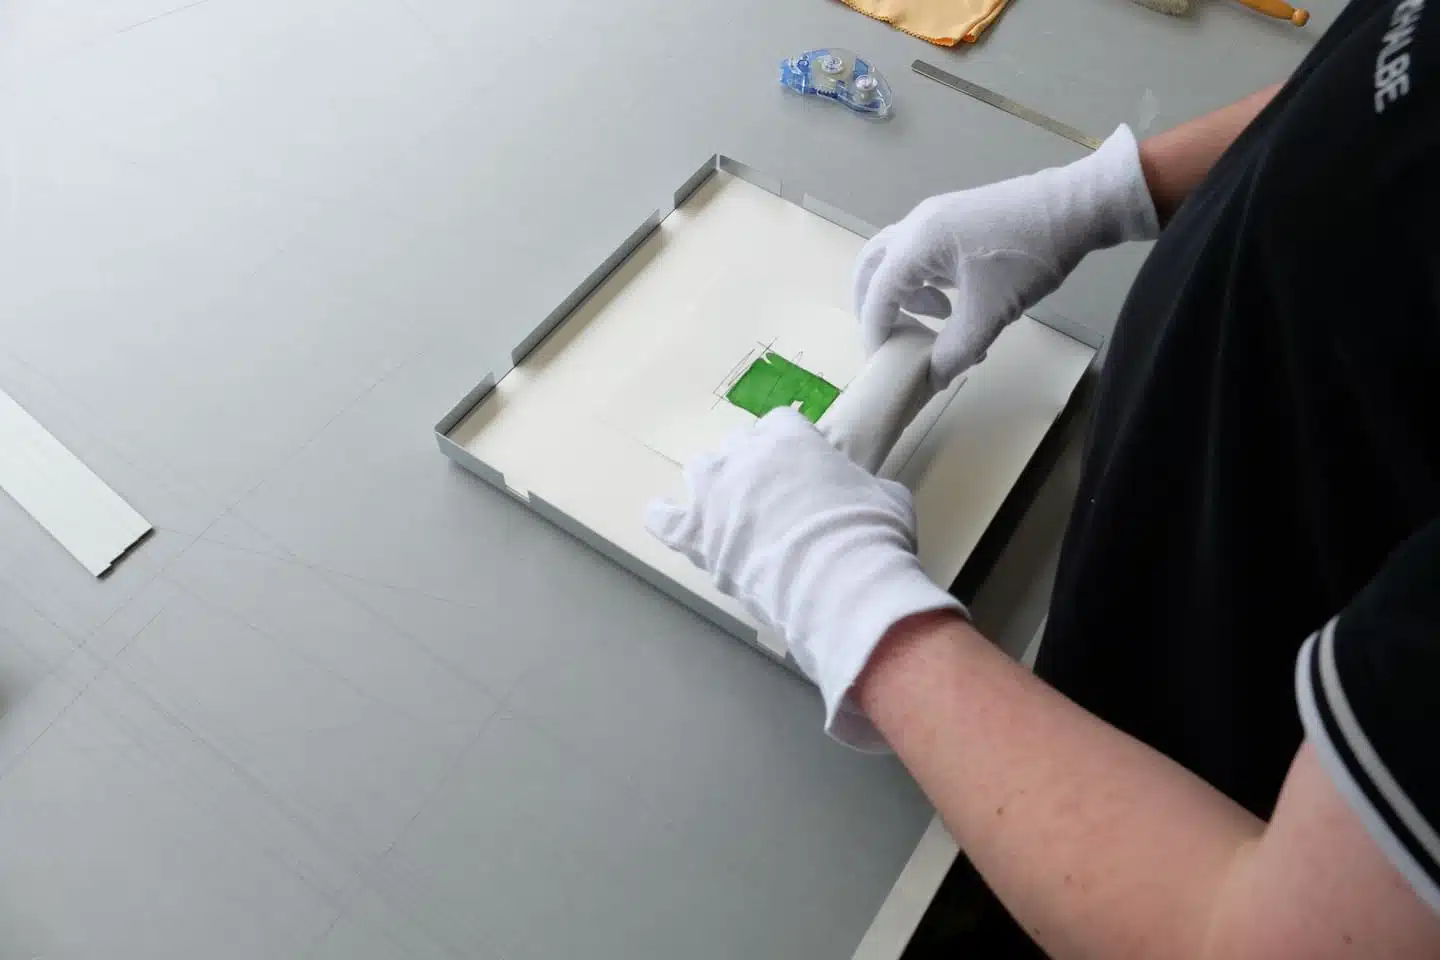
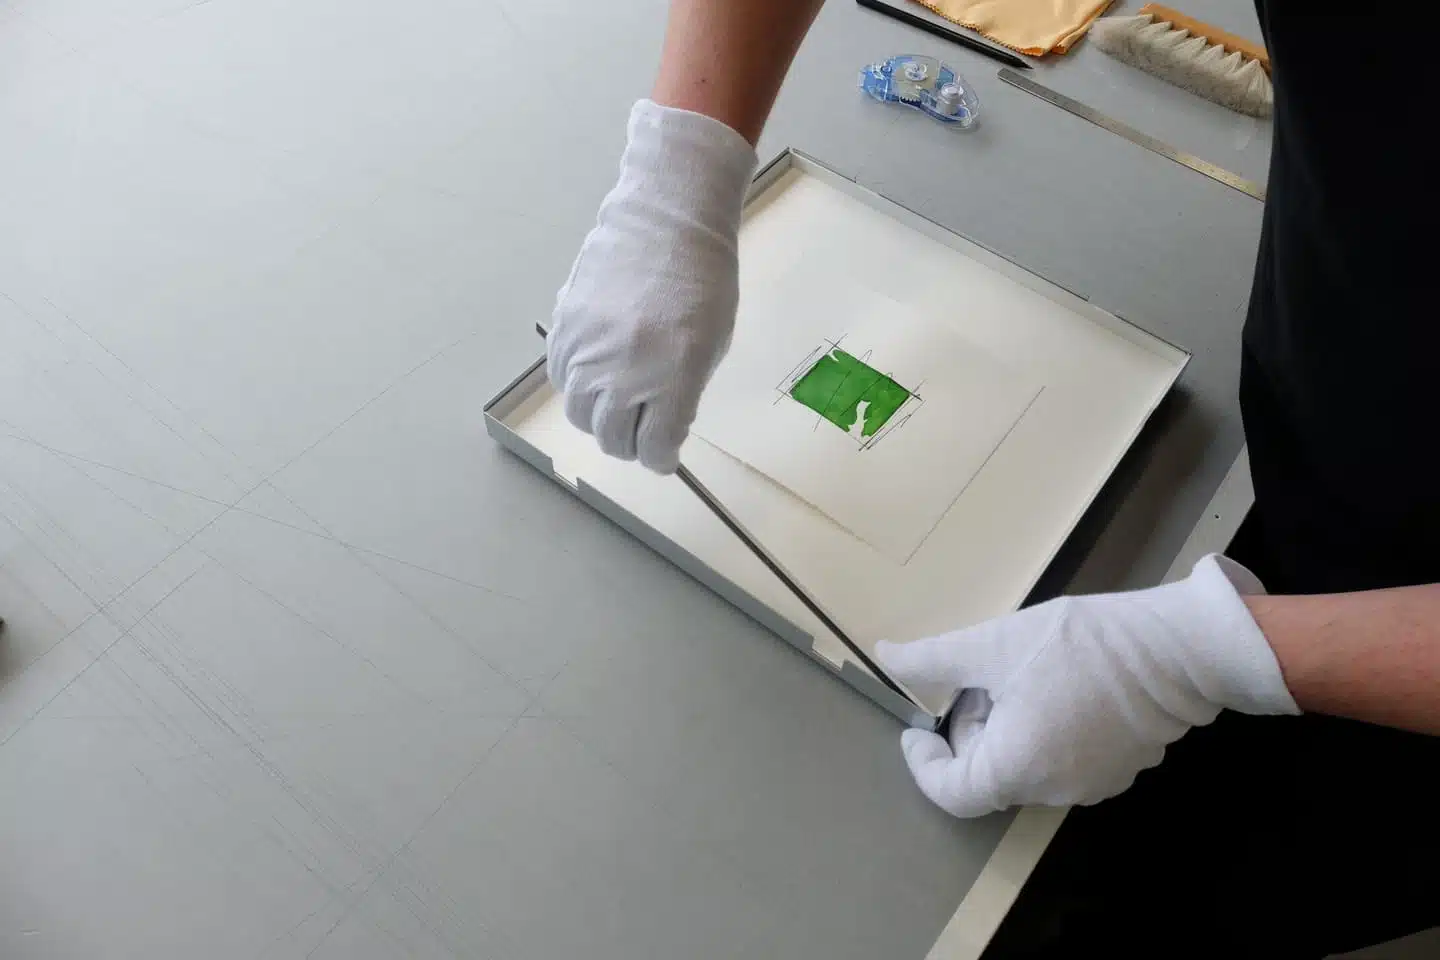
The first step is to get all the necessary parts ready and then open the picture frame. Then place the picture by eye in the desired position in the base element - it is best to grasp it diagonally to avoid kinks. Now measure the exact position of the picture. Pictures are not always right-angled, so it is important to measure all outer edges towards the sheet metal angle of the frame. Then fix the picture at the bottom with the sand bags or empty water glasses.
Apply glue
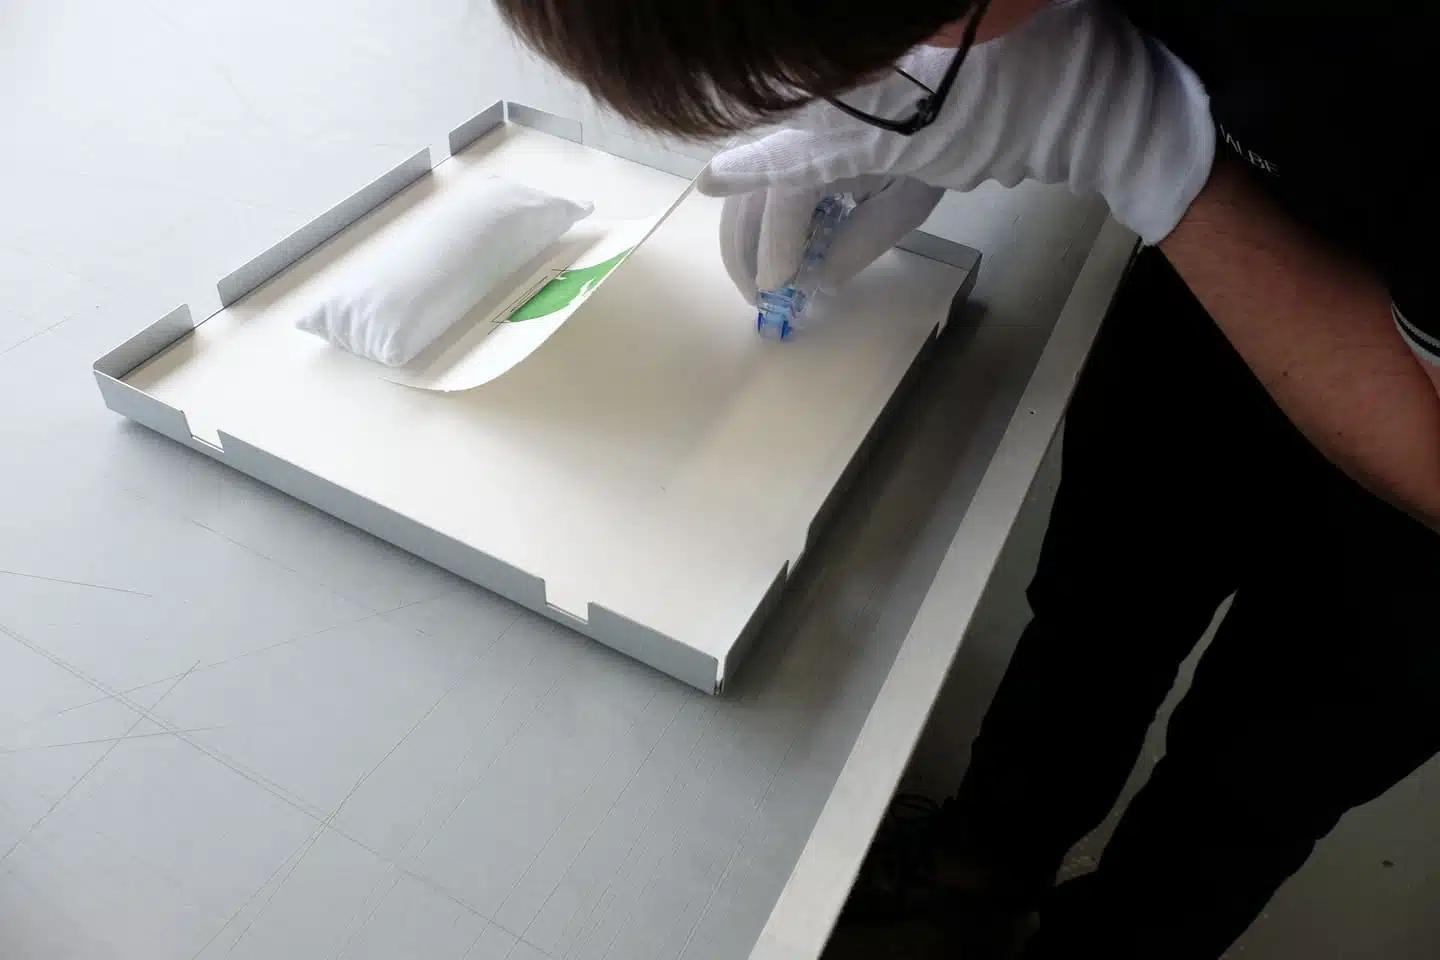
Then place a pencil dot about 5 mm inwards at the upper corners as an orientation: The dot serves as a marker to avoid spreading the glue beyond the paper. Now the glue can be applied with the gudy®Roller.dot: To do this, bend up the paper of the picture slightly. In our example, two glue spots of 30 mm each are sufficient. If the adhesive has been positioned incorrectly, it can be rubbed off carefully with your finger. Then place the image on the glue dots and carefully press it down.


Insert distance strips and place the overframe
The gudy®Roller.dot holds about 5 g/cm² of adhesive surface. The 200 x 300 mm paper with 300 g/m² from our example weighs 18 g and requires 4 cm² adhesive area. With a strip width of 0.9 cm, a total of at least 4.5 cm of adhesive strips is therefore required. Two strips on the left and right, each 2.5 to 3 cm long, are ideal. To glue the bottom side, now weigh down the top side and proceed as above. Here, the image is to be bent back from the center to the edge so that no waves are created in the paper. Less glue is sufficient so that the paper does not stick out. Then insert the spacer bars, place the glass and put on the overframe. Done!
Tools & utensils
Steel ruler, sand bags or empty water glasses with rounded corners, soft pencil, gudy®Roller.dot
Optional: gloves, hand brush, cleaning cloth
You can find more information in our knowledge section on free assembly .