Mounting in a folding passepartout with clear photo corners
Framing with a passepartout is one of the most classic ways of framing. It gives the picture a perfect stage by setting it apart and emphasizes it in a special way. The picture is smaller than the picture frame and the glass does not rest directly on the object. This mounting is of high conservation value, because the glass does not get in contact with the surface of the picture. This is ideal for works with easily soluble colors such as pastel or chalk, but also for old photographic prints and certificates.
To prevent the image from slipping in the cutout, it should be fixed. In the case of reproducible pictures or if there are fewer conservation requirements, simple and quick fixation with adhesive tape is sufficient. Especially for delicate works and unique pieces, it is better to dispense with any adhesive application and keep the mounting reversible. Folding passepartouts are suitable for this purpose, on the back of which the pictures are held in place with photo corners. The advantage of this is that there is no glue on the picture, and the picture can be unframed and stored in the folding passepartout - without the risk of damage.

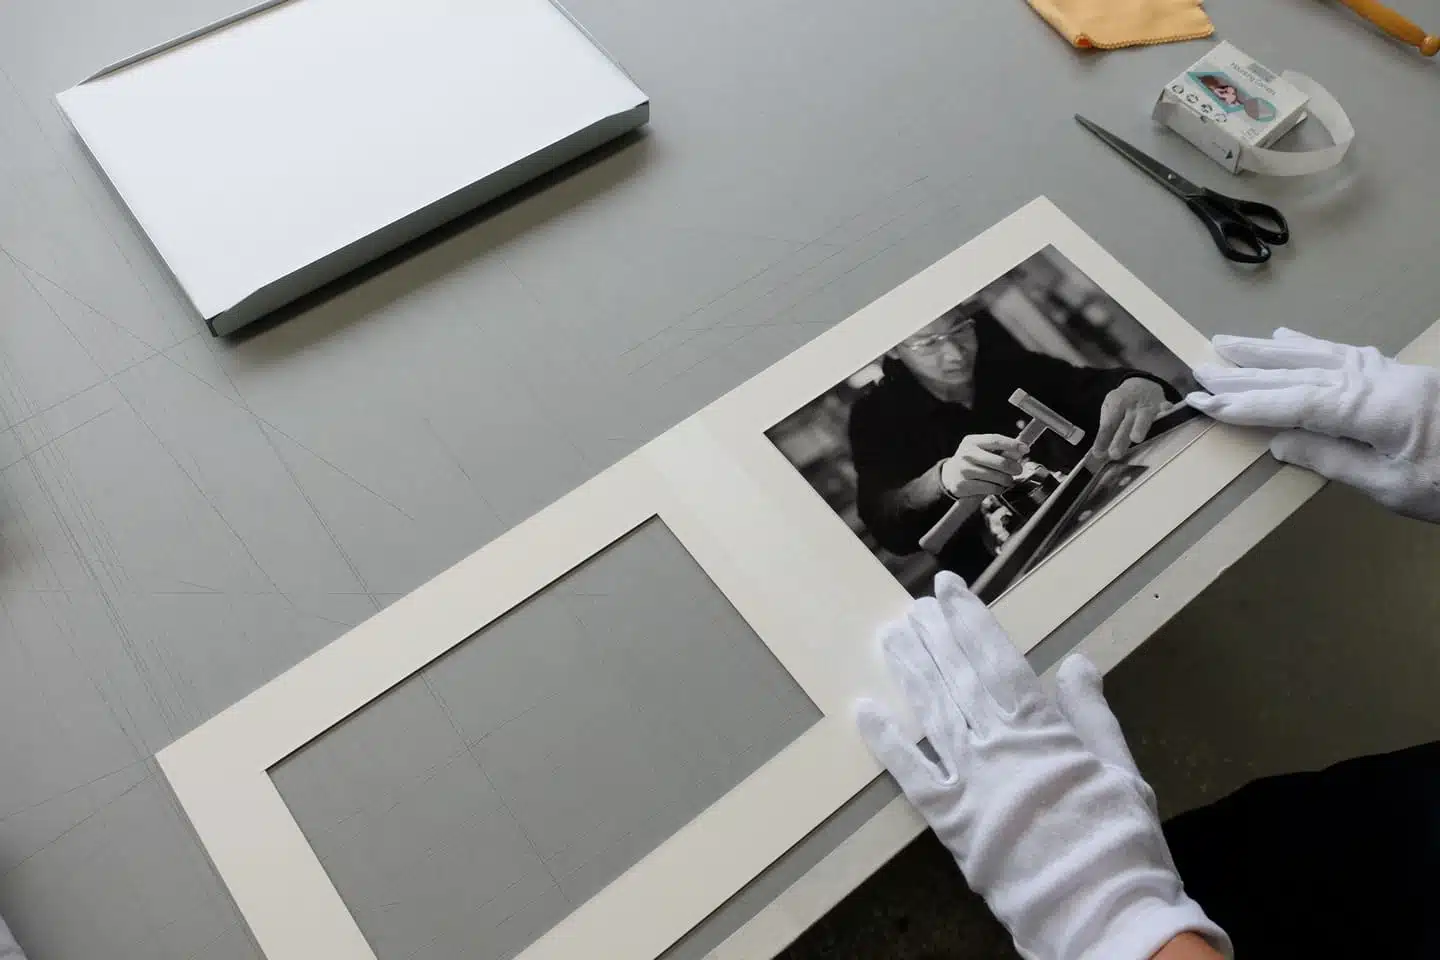
Open passepartout
The first step is to open the passepartout. Here's a tip: The overlap should ideally be particularly large in order to cover the photo corners securely. Approximately 8 mm all around is ideal. Then the image is positioned by eye on the desired position on the back board of the passepartout.

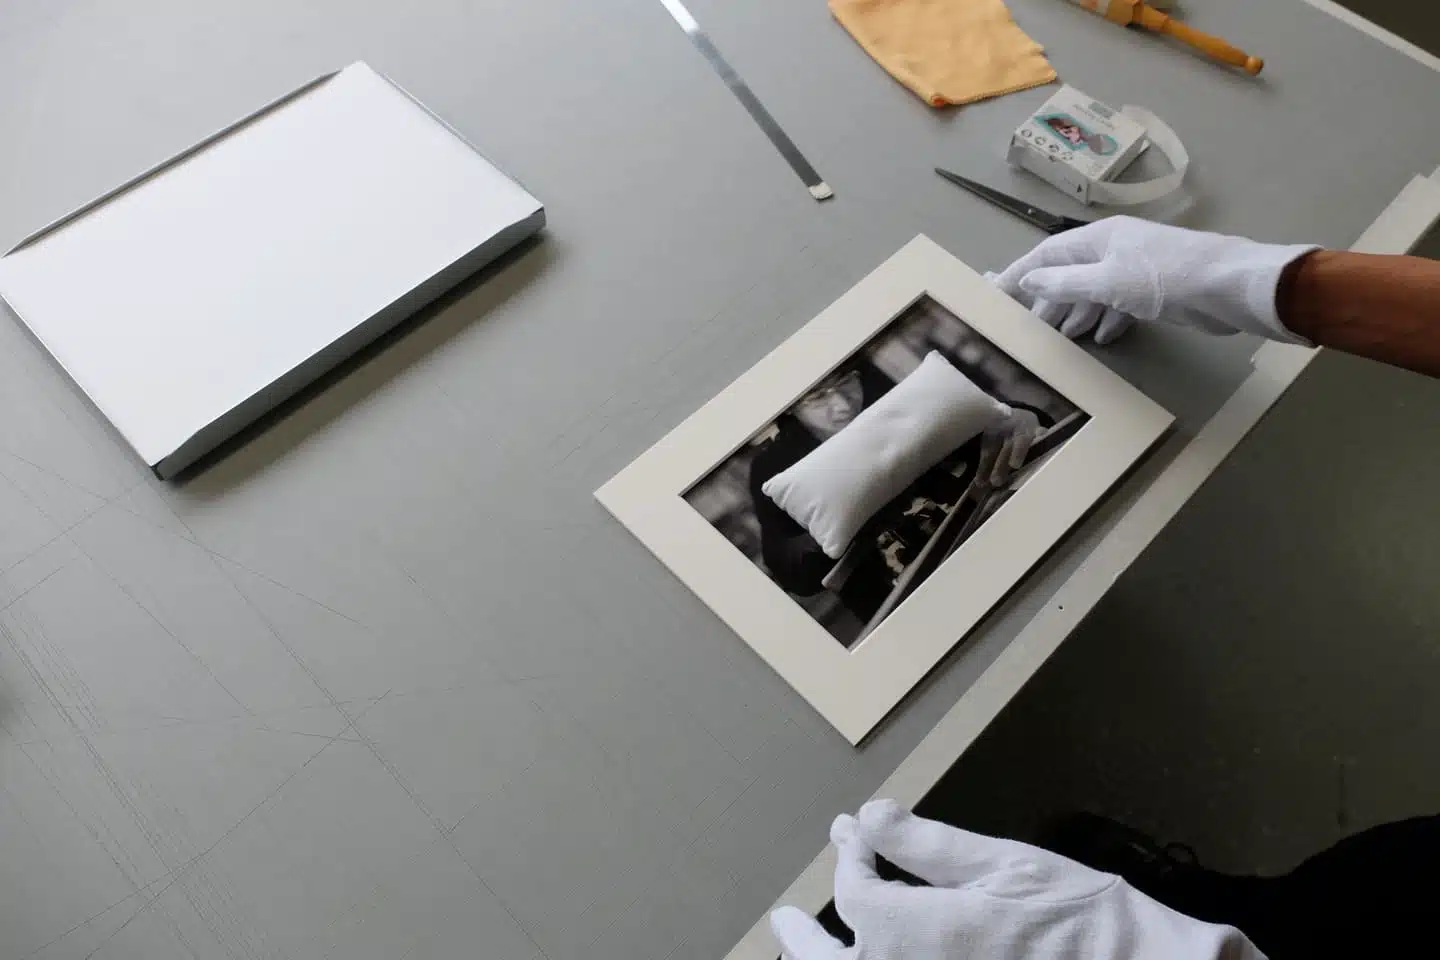
Align picture
Then close the passepartout and check the position. Now weight down the center of the picture with a sandbag or an empty water glass to prevent it from slipping.
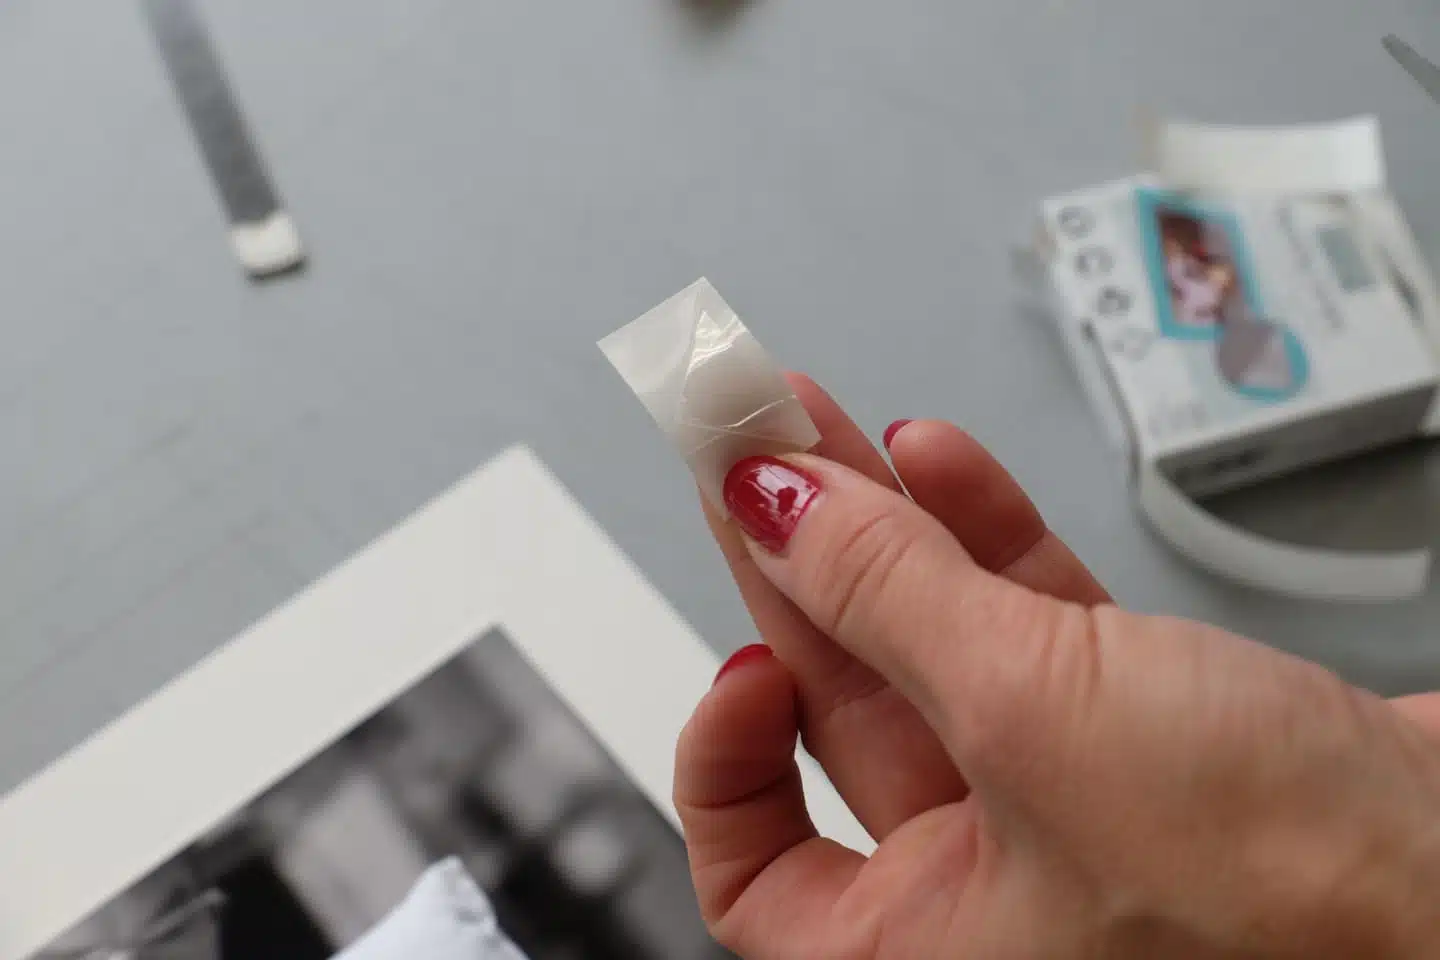
Attach photo corners
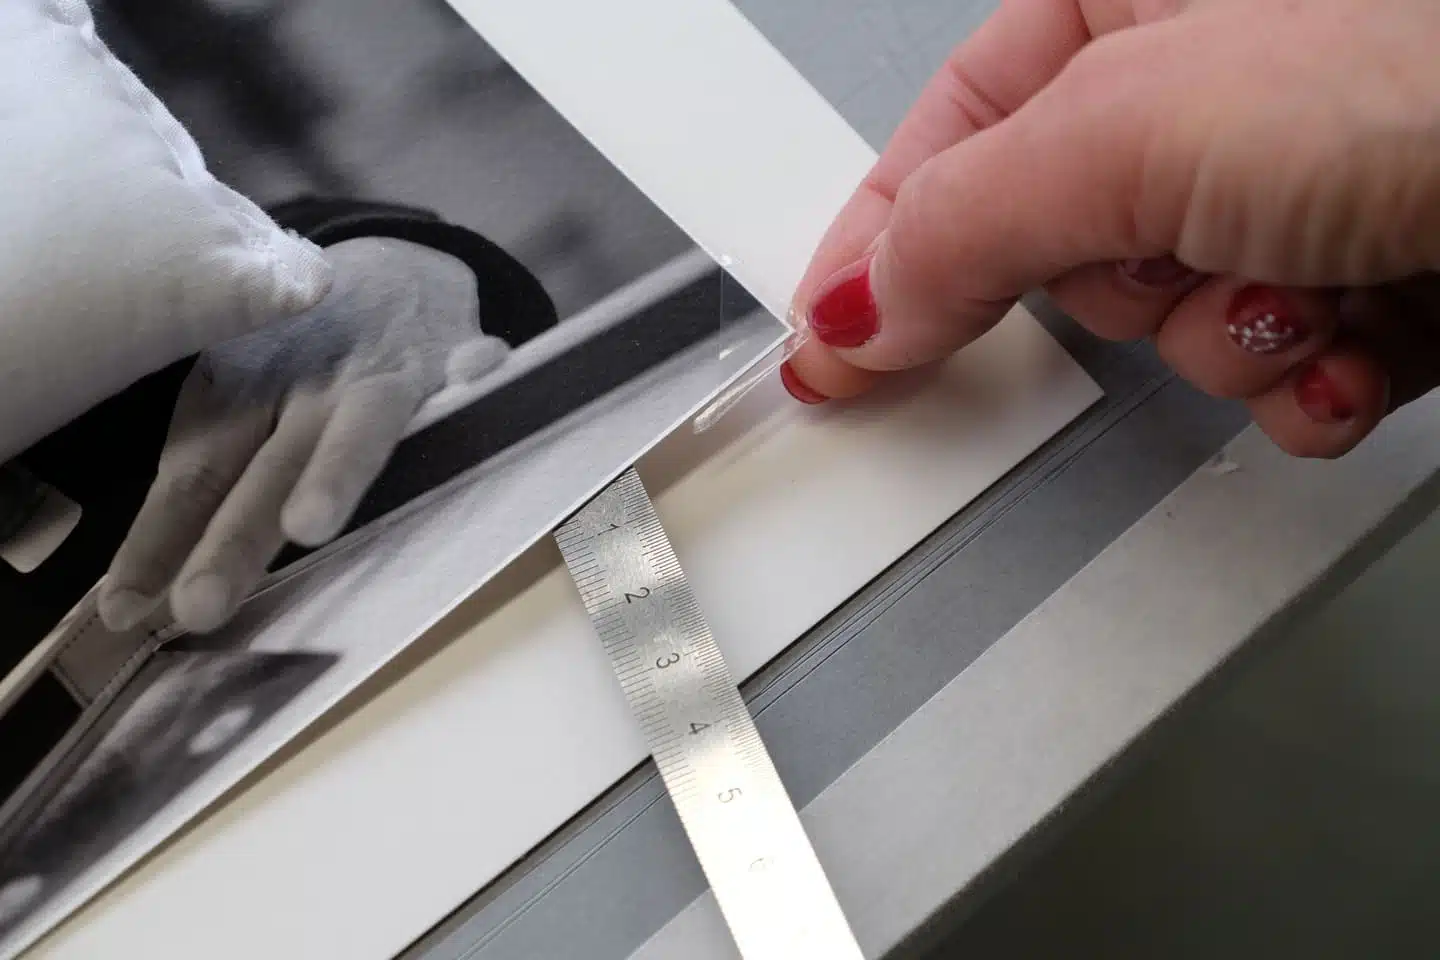
In the next step, cut the photo corners together with the protective film from the roll and carefully attach the photo corners. Be sure to leave about 1 mm of space between the corner and the paper so that the paper can work without making waves. Then close the passepartout and check whether the corners are completely covered.


Another tip
If the corners are not fully covered, they can be pinned with more air to the image. If that is not enough, the corners need to be cut smaller. When everything fits, peel off the protective film from the corners. To do this, bend up the paper and carefully put the corners back on. Again, leave 1 mm of air, glue the corners to the background cardboard and press on well. Now the passepartout with picture can be inserted into the basic element; the thickness of the passepartout should be taken into account for the insertion depth of the picture frame. Finally, put the glass and overframe back on.
Tools & utensils
Steel ruler, sandbag or empty water glass with rounded base, photo corners small
Optional: gloves, hand brush, cleaning cloth
Still questions? We've put together detailed step-by-step instructions on our website.