The CLASSIC magnetic frame
Explained quickly and simply: Your operating instructions for the CLASSIC magnetic frame in four steps.
We strive for the highest quality in the manufacture and packaging of our frames. Please understand that we cannot influence all factors in the actual use of our products. We also cannot influence whether undesirable reactions occur between the various materials used and the specific inlay materials used, e.g. works of art. If necessary, the customer must always check the compatibility of the material.
Do you still have questions? Please contact us.
Contents
1. Operating instructions CLASSIC magnetic frame
2. Video instructions
3. Stand
4. Hanging systems
5. Picture locks
Protection
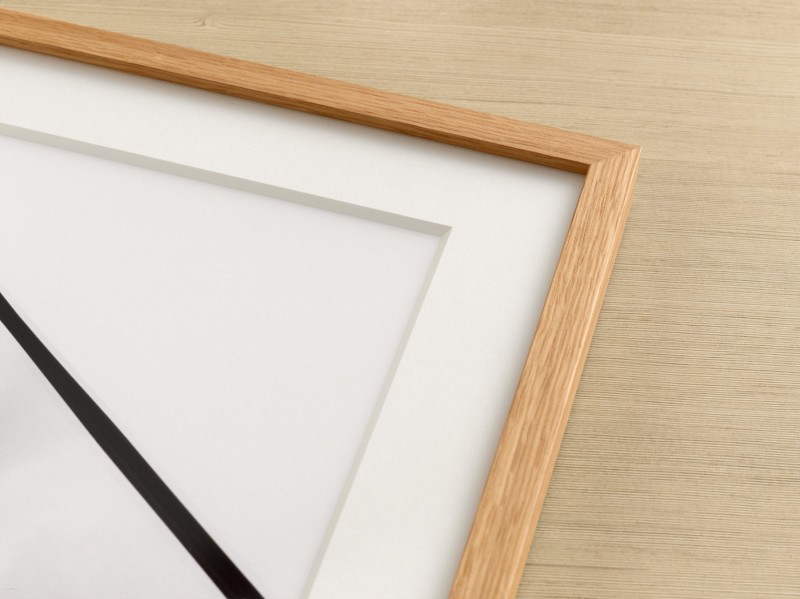
A passepartout provides the perfect protection for your picture. It creates a distance between glass and image, so the glass surface does not lie directly on the image and the image surface is protected perfectly. When choosing a passepartout, it is important that it is made of high-quality materials. The paper must be acid-free so that the passepartout, which has direct contact with the image, does not damage it. We use certified passepartouts from Klug - Conservation. These are acid-free and resistant to ageing and thus offer your work of art active protection. In addition, the surface is finely structured and offers a valuable optical impression.
Of course you can also create your passepartout with different sizes and shapes and let your creativity run free. There are no limits to what you can do. For example, you can use a smaller passepartout section to highlight only a part of the picture without damaging the rest of the picture. Or you can put a small picture in the limelight by placing it in a larger frame with a matching passepartout. A landscape passepartout in a portrait frame also has a certain charm. Please note, however, that framing should never dominate the picture, but only support its effect. It is best to try out the various options. Simply upload your motif in our configurator.

Coherence
You also have countless possibilities when choosing the passepartout colour, because the decision for a certain colour also depends on your personal taste. We recommend neutral colours. These are timeless and do not distract from the picture. When choosing the colour, however, you should make sure that the main nuances of the picture are adopted in order to achieve a harmonious overall appearance. This means: a rather bright picture also needs a bright passepartout. With a darker picture, a black or grey passepartout can be used. For example, a natural white passepartout is ideal for handmade prints or laid paper. If you frame black and white motifs, you can choose a light passepartout to achieve a classic result, but also the framing with a black passepartout looks very stylish. The colours you can choose at HALBE are white, old white, natural white, light grey and black.
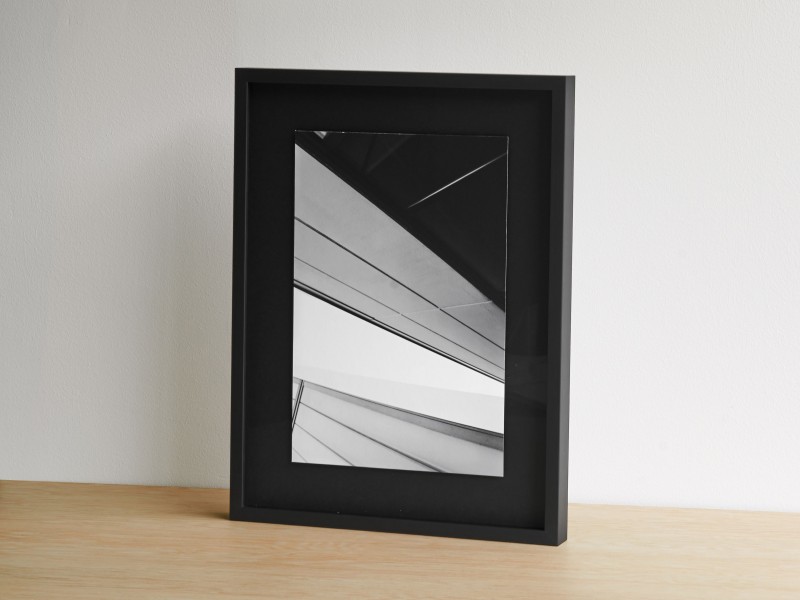
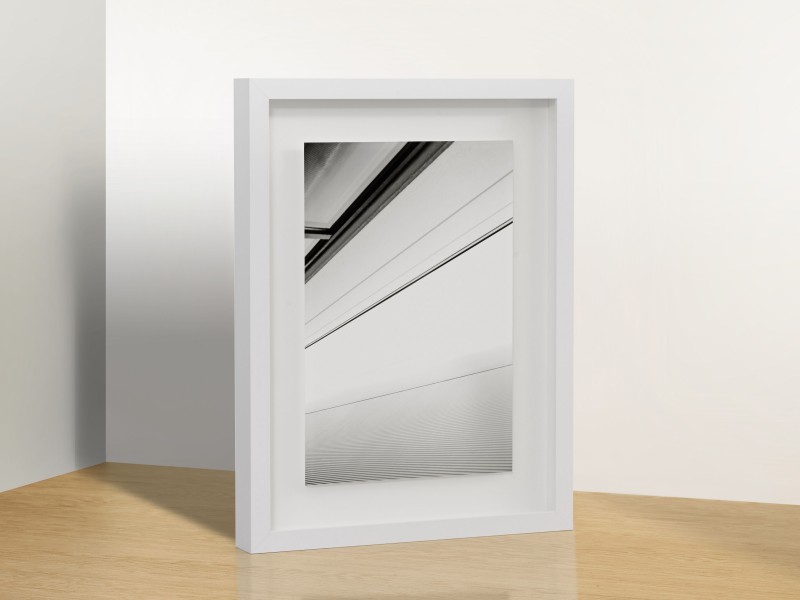
How wide your passepartout will be at the end is a matter of taste, but in our experience it looks most harmonious when the width of the passepartout edge is about 10-12% of the size of the longer side. The passepartout cutout should be 5 mm smaller than your image to ensure that the image is well covered by the passepartout. For example, if you are working on paper with a size of 50 cm x 70 cm, the width of the passepartout will be 8.5 cm. Note that the front edge of the frame covers a few millimetres of it and thus the visible passepartout width is reduced. Our frame configurator will also help you with the selection. Simply select a frame here and add a passepartout, the configurator will then automatically show you the matching passepartout.
Of course, our customer service will also be happy to help you!
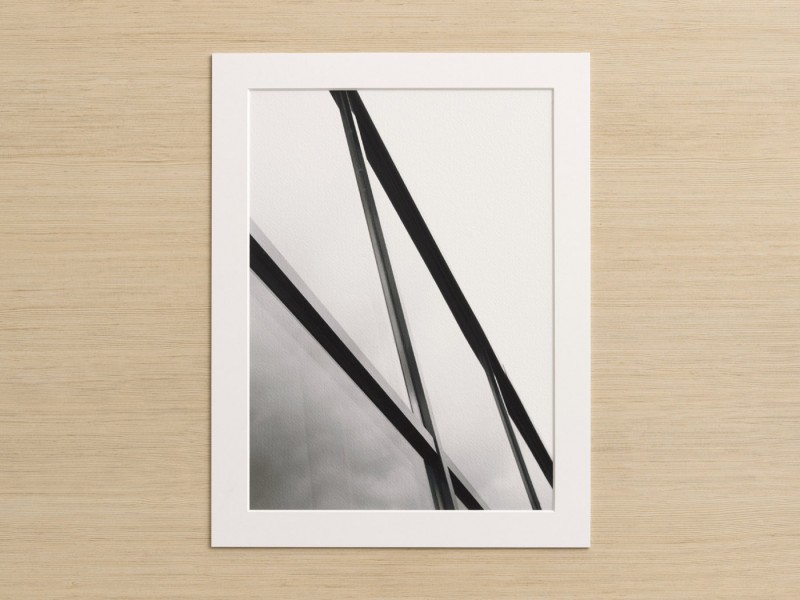
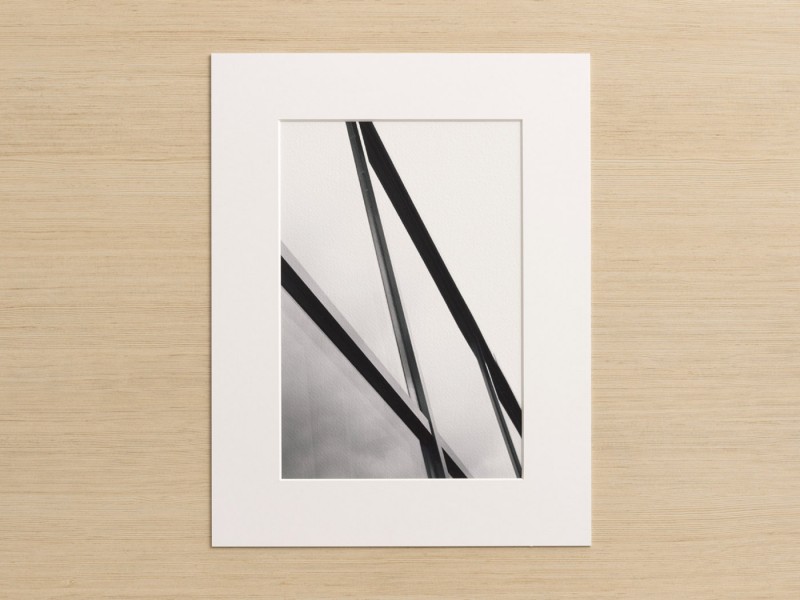
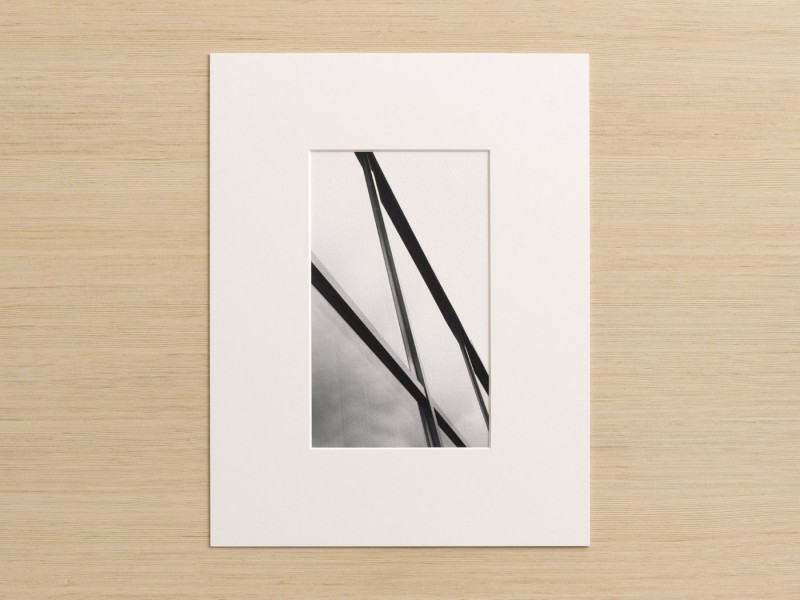
White passepartout with narrow edge (external format 300x400, cut-out: 238 x 338 mm, corresponds to 8% edge width)
White passepartout with medium edge width (external format 300x400, cut-out: 178 x 288 mm, corresponds to 14% edge width)
White passepartout with wide edge (external format 300x400, cut-out: 138 x 238 mm, corresponds to 20% edge width)
Central
Usually, the image section is centered - i.e. with the same edges at the top and bottom, as well as left and right. Thus, the passepartout can be used flexibly in portrait or landscape format. This is particularly practical, for example, for temporary exhibitions. In terms of design, tension can be added to the presentation if the image is placed higher instead of in the middle.
Optical centre
With this variant, the image section in the passepartout is slightly shifted upwards. The lower passepartout border is then slightly wider than the upper one and for the eye it looks as if the cut-out is centered. With the variant "centered", however, it appears, depending on the picture and proportions, as if the lower edge is somewhat narrower than the upper passepartout edge.
Golden section
The golden section represents a relationship which has always been perceived as pleasant and harmonious by the human eye. In terms of art and the placement of the picture in the frame, the lower passepartout margin is chosen significantly larger than the upper margin according to a mathematical formula. In the HALBE passepartout configurator the option is visualized simply by clicking.
Of course, other forms of presentation are also conceivable with regard to the border or the placement of the cut-out. If, for example, an artist has deliberately printed or embossed a motif on the sheet outside the centre, this idea should be taken into account when framing the work. If the sheet is to be framed with a passepartout, one can then orient oneself proportionally to the motif and select the image section accordingly, such as a narrow border on the left and right, a wide border at the top and a significantly wider border at the bottom. For the determination of the passepartout dimensions, it is helpful to try out several variants by means of a metre rule and then to align the sheet by means of a clean paper base.
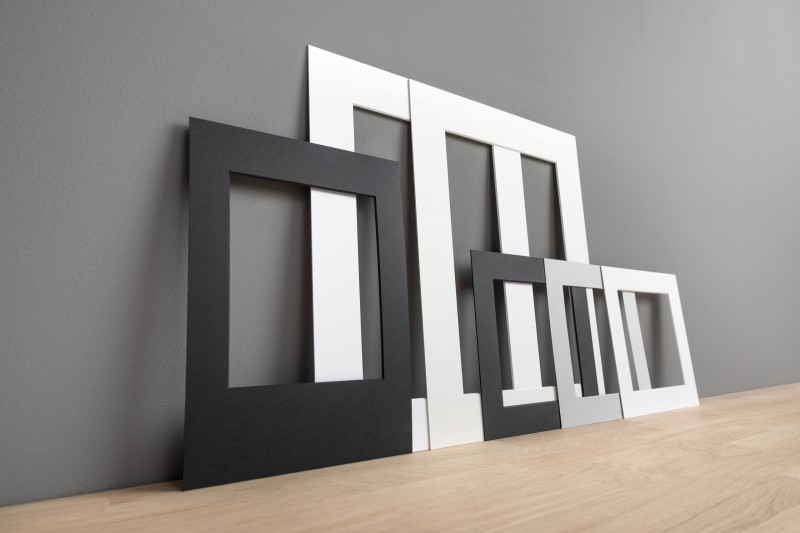
As far as the choice of the passepartout colour is concerned, everything is conceivable and depends not lastly on personal ideas. For handmade prints on light paper, often handmade paper, we recommend the colour of the passepartout to match the colour of the sheet, or to orientate to the occurring colours. Here the passepartout in natural white is the best choice.
With black and white photographs, a white passepartout looks very good if the presentation is to appear classic and bright. Whether white or old white should be chosen depends on the white tone of the paper work. Also the wall color is not insignificant with the selection of the perfect passepartout color. If the walls of the room are freshly painted in brilliant white, the choice of a white passepartout is also ideal. Alternatively, the broken white shade in old white is a good choice. A black passepartout unfolds its full effect with dark picture motifs, as the motif then appears brighter overall. In combination with a dark frame, the black passepartout looks elegant and stylish.
Tip
The colour of the passepartout should be a shade darker or more yellow than the paper of the picture. So the picture looks whiter, fresher and newer.
At HALBE you get 5 different colours:
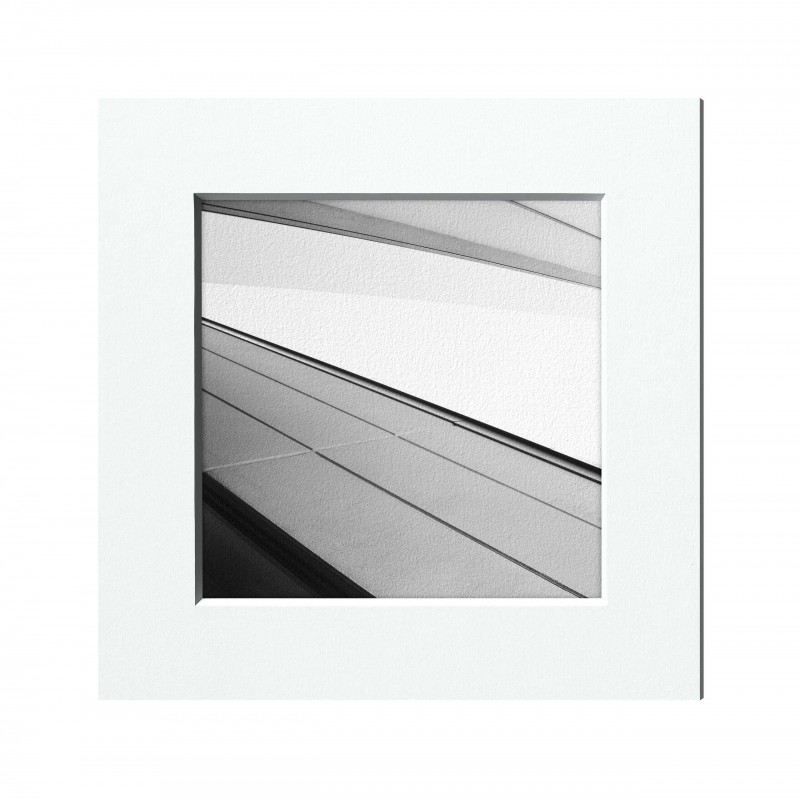
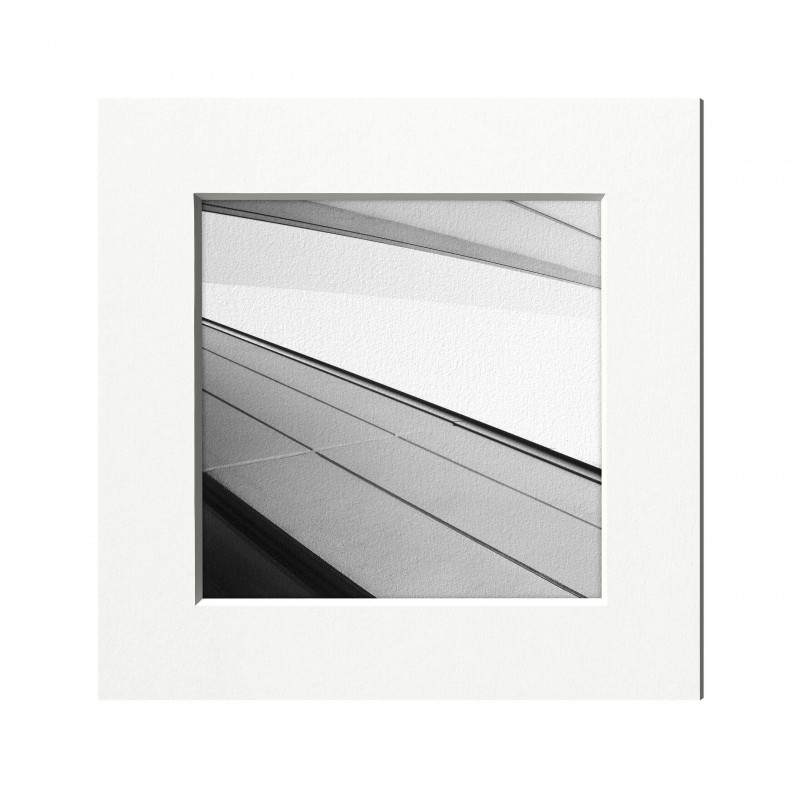
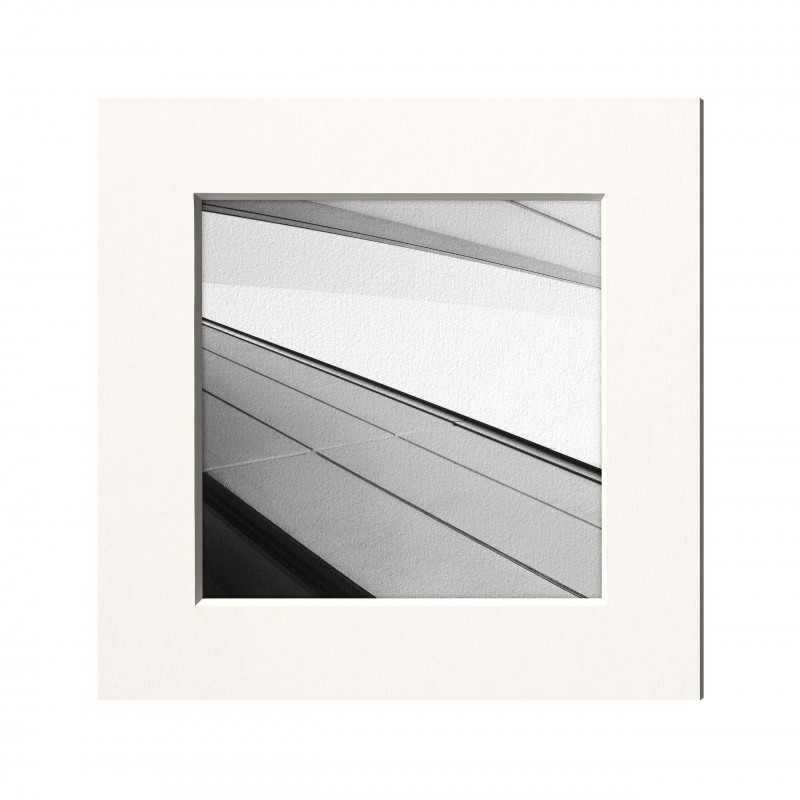
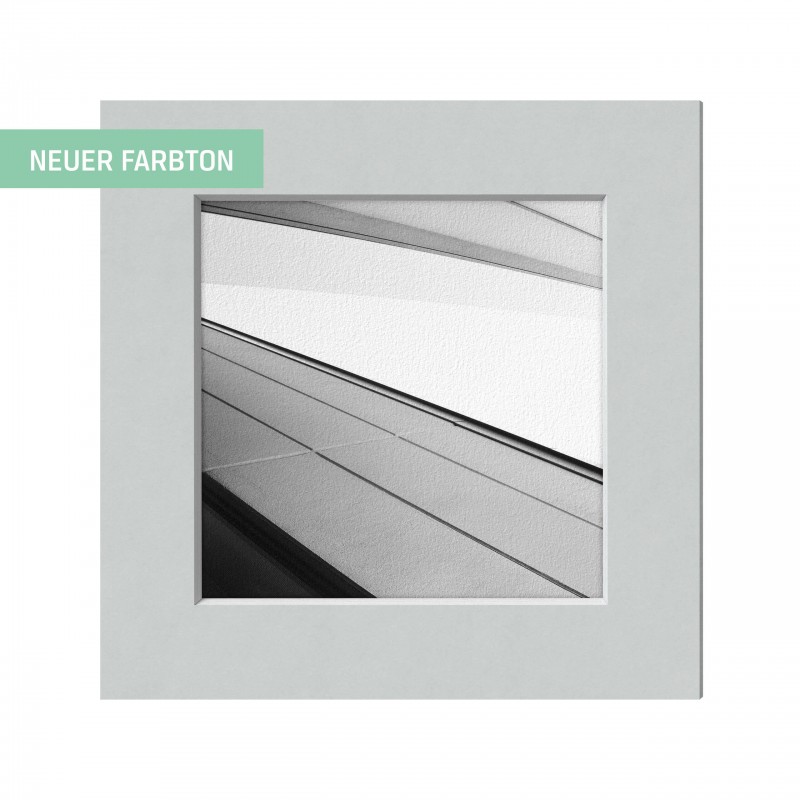
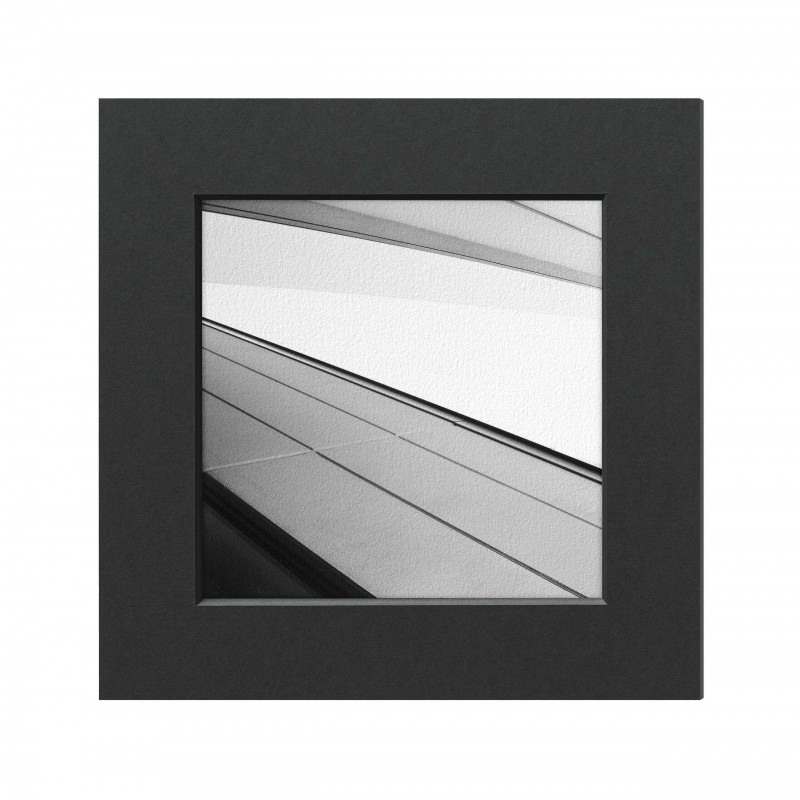
W white
AW old white
NW natural white
HG light grey
S black
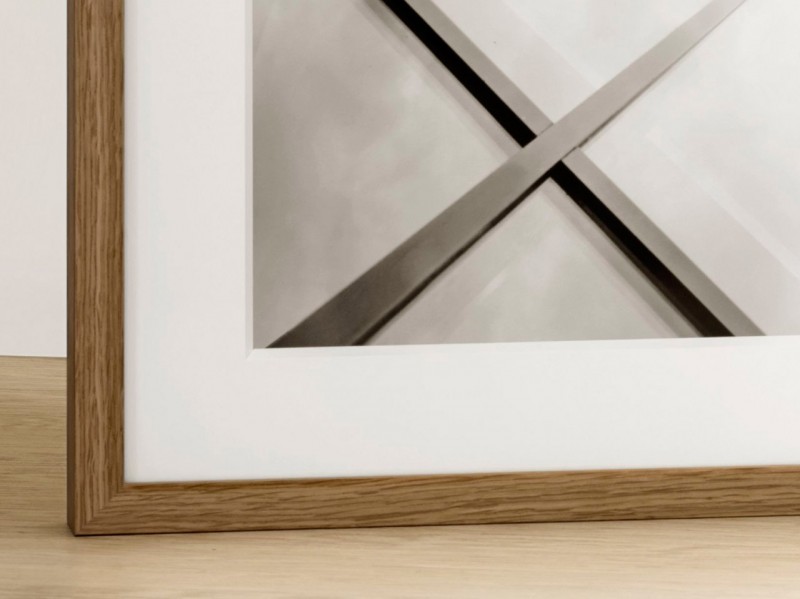
Motif covered with passepartout
When the image is covered by the passepartout, only a selected portion of the image is visible. This type of presentation is used, for example, when framing prints or photographs, or for paper work where the edge is distracting because it is damaged, odd, or frayed, for example. The presentation type covered with passepartout means that the image section of the passepartout is at least 1 cm smaller than the paper work to be framed. Thus, 0.5 cm of the paper work is covered on all sides. On the one hand, as much of the picture as possible should be shown, on the other hand, the edge of the picture should not be visible or should bulge out if, for example, the calculation is too tight. When measuring the paperwork and subsequently determining the image section, it should be noted that the paperwork still has to be attached to the upper edge. If a signature is available, it should be shown in full if possible. The paperwork can be attached directly behind the passepartout or on the so-called image carrier.
You can find out how to mount this method quickly and easily here: https://www.halbe-rahmen.de/en/know-how/mounting/insert-picture-in-passepartout-flat/
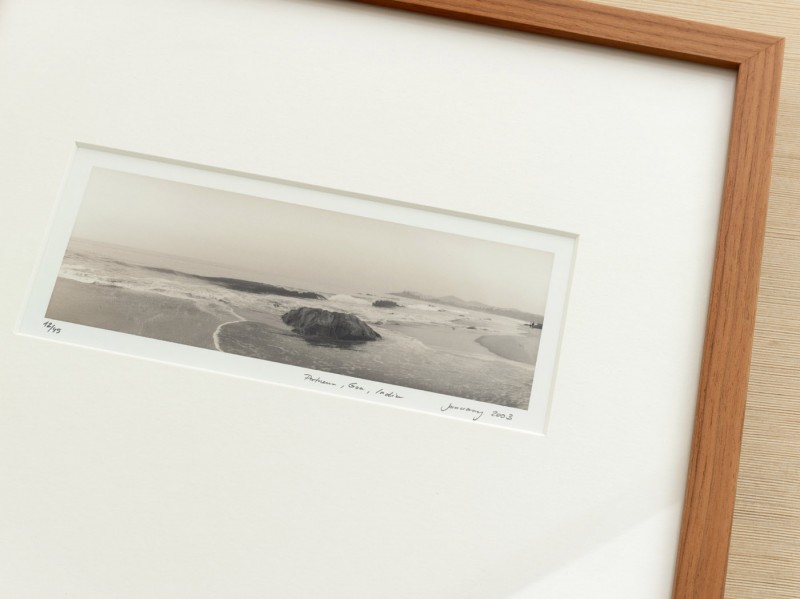
Motif with passepartout
The sheet is often larger than the actual image motif. In this case, the passepartout cut-out can be 5 mm to 10 mm larger than the motif. The resulting cut-out edge between the picture motif and the passepartout edge unfolds an even greater picture effect. This method is ideal for motifs that have a signature, as these are shown to advantage.
You can find out how to implement this type of presentation quickly and easily here: https://www.halbe-rahmen.de/en/know-how/mounting/motif-free-in-folding-passepartout/

Passepartout floating in frame
This is a more rare but nevertheless very successful application of the passepartout. Here the passepartout is placed directly behind the glass with a spacer or with distance strips to the work of art. This creates the impression of a passepartout floating in front of the picture. This gives the motif an additional depth effect. This type of presentation is only suitable for narrow edge widths of approx. 50 mm, as otherwise a gap between glass and passepartout can develop towards the centre.
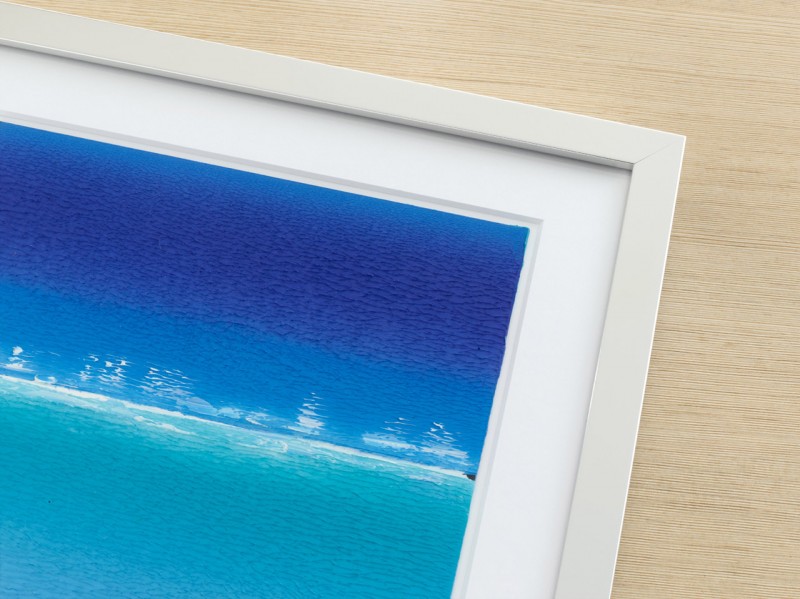
Sheet exposed in passepartout
Exposed in the passepartout means that the paperwork is shown in its full size. This type of presentation is particularly suitable if the edges of the work should become visible, because through the three-dimensional play your picture is beautifully set in scene. The cut-out of the passepartout is a few millimetres larger on all sides than the paper work. How many millimetres the distance from the edge of the picture to the front edge of the diagonal cut should be depends on the paper work itself. An all-round distance of at least 0.5 to 1.0 cm from the edge of the image to the passepartout looks good. If the paper work is not completely in the angle or not completely straight, one calculates a bigger distance, as the sheet can then be averaged out. The paperwork has to be fixed on the picture carrier. As the image carrier is visible through this kind of presentation, the image carrier, thus the background cardboard and the passepartout should have the same colour and quality. A folding passepartout is particularly suitable for this type of presentation, as the image is then mounted directly on the background cardboard of the folding passepartout. Folding mounts are particularly useful when used for professional storage in archive boxes.
We will explain to you how to mount this type of presentation the easiest way here: https://www.halbe-rahmen.de/en/know-how/mounting/picture-laid-freely-in-the-folding-passepartout/
Not enough on the subject of passepartouts yet? You will find further types of mounting, inspiration and tips for all variants in our knowledge section at: https://www.halbe-rahmen.de/en/know-how/mounting/
A high-quality passepartout conveys a certain depth through the diagonal cut and gives the picture more space to unfold through the distance to the frame, since the entire framing also becomes larger. Depending on the thickness of the passepartout, you can either intensify or reduce this effect. For wavy, heavy paper work, a strong passepartout is always chosen. Even better in this case is the floating mounting in the distance frame. We will explain to you here how to implement this easily: https://www.halbe-rahmen.de/en/know-how/mounting/freely-mounted-with-herma-sticker/
The depth effect then gives the image more vitality. The additional frame directs the viewers' attention even more to the picture, giving it the final touch. The cut-out for your picture and the size of the passepartout will be cut to the millimetre according to your wishes. Multiple cut-outs are also possible according to the sketch. We can supply you with passepartouts with a thickness of 1.5 mm or 3 mm.
Depth effect
Design options


Step 01
Lift the profile frame (A) upwards by applying light pressure.
Step 02
Now remove the glass (B) and, if necessary, the underlying passepartout upwards.
Step 03
Insert your picture, a piece of cardboard or passepartout.
Step 04
Now all you have to do is place the glass (B) over and press the profile frame (A). And it's ready.
Wir bemühen uns für unsere Rahmen bei der Herstellung und der Verpackung um allerhöchste Qualitat. Bitte haben Sie Verständnis dafür, dass wir nicht alle Faktoren bei der konkreten Verwendung unserer Produkte beeinflussen können. Auch können wir nicht beeinflussen, ob es zwischen den verschiedenen verwendeten Materialien und den konkret verwendeten Einlagematerialien, z. B. Kunstwerken, zu unerwünschten Reaktionen kommt. Im Bedarfsfall ist hier stets kundenseitig eine Überprufung der Kompatibilität des Materials vorzunehmen.
Stand
Your instructions for the stand.
Bildsicherung BS 1
Ihre Anleitung für die Bildsicherung BS 1.
Fixing holder
Your instructions for the fixing holder.
Gallery rail
Your guide for gallery rail.

Picture lock BS 3
Your guide for the picture lock BS 3.
Picture lock BS 4
Your guide for the picture lock BS 4.


