

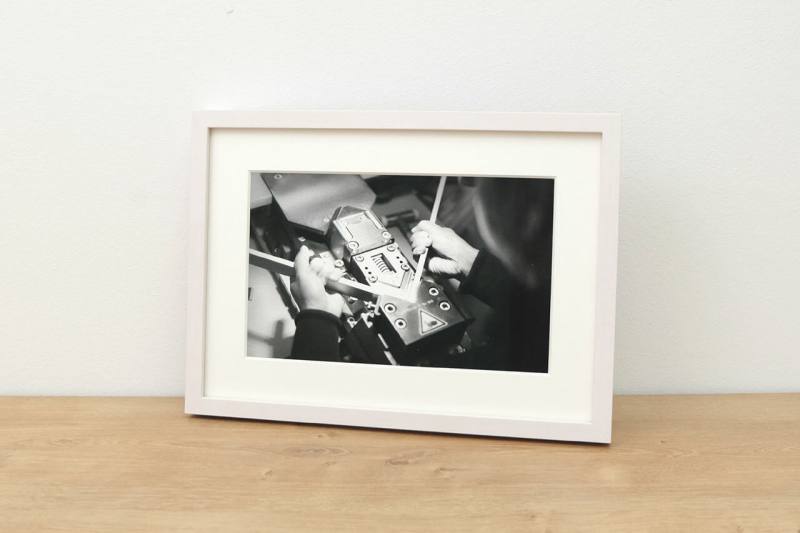
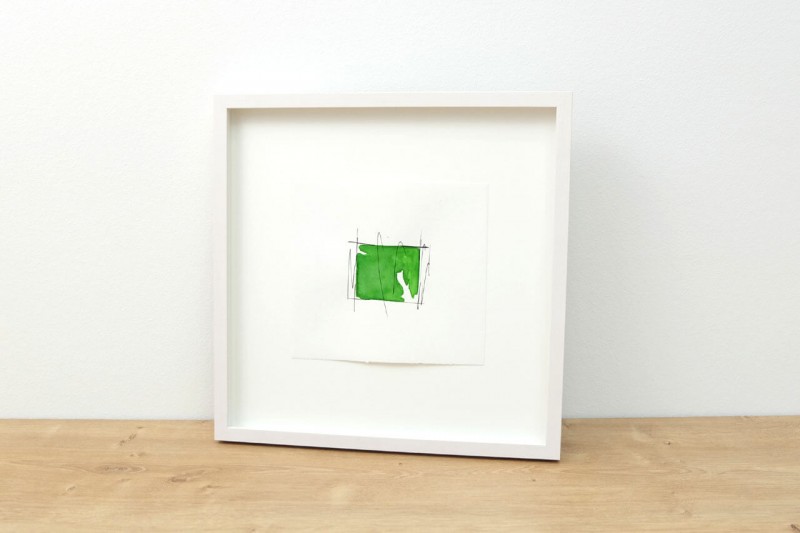
Insert picture flat
Classy & stylish - your picture is set flat in the Classic magnetic frame.
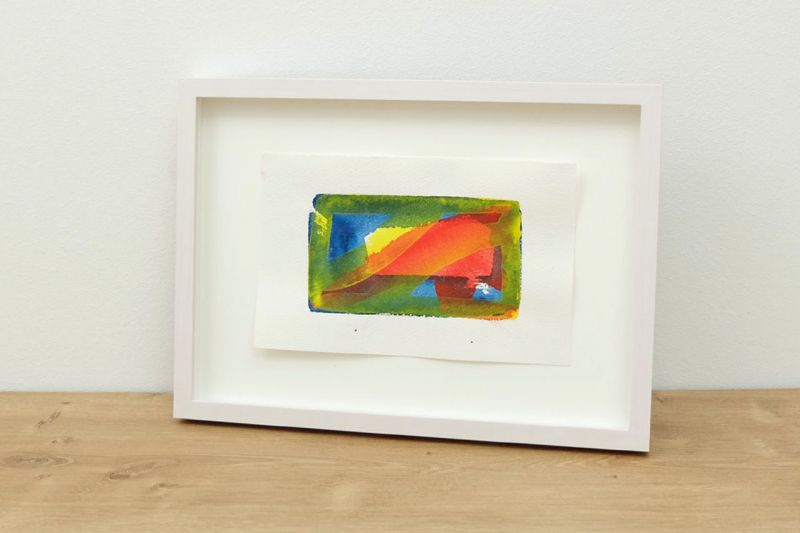
Freely mounted with Gudy 831
Freely mounted using Gudy 831, your picture looks as if it would float effortlessly in the distance magnetic frame.
FRAME YOUR PICTURES CORRECTLY - THAT'S HOW IT WORKS!
Presentation & mounting of pictures in a frame
Conservational framing / mounting
What does "mounting" mean?
Mounting is the positioning and attaching of an object in a picture frame. A picture should not only be presented in an appealing way to underline its character, but also to keep its condition as long as possible.
What is conservational framing?
Conservation means creating conditions to preserve the condition of an object for as long as possible. The higher the requirement is to preserve the condition of an image over decades, the more careful the framing has to be and the more elaborate it becomes. Those who can reproduce their picture at any time, or the financial and ideal value is low, or the duration of the exhibition is short, can of course make it easier to mount.
Conservation framing includes:
- UV protection of the glass
- Distance between glass and object
- Ageing resistant materials to which the image is in contact
- If possible, no irreversible gluing
The following types of presentation are available for picture montage:
| Presentation | Material | Type of mounting | ||||
| Insertion |
Fixation |
Photo corners |
Folds, |
|||
| Flat | Paper | x | ||||
| Dibond | x | |||||
| With passepartout | normal pp | Paper | x | x | ||
| Folding pp | Paper | x | ||||
| Free floating | Folding pp | Paper | x | x | x | |
| on the back | Paper | x | x | x | ||
| on the back | Dibond | x | ||||
| Free floating on a pedestal | Paper | x | x | |||
| Dibond | x | |||||
Presentation
The planned presentation should be implemented in order to emphasize the character of the picture and to skilfully stage it. Because every picture deserves the perfect stage.
Stability of the fixation
The object should remain in position in the picture frame without loosening or slipping. The mounting must be stable enough to hold the weight of the picture. With increasing grammages and sizes, stronger mounting methods are required, especially when long distance transport is to be expected. A light parchment paper requires a different attachment than a large thick laid paper. Basically, the mounting should be the weakest link and as filigree as possible.
Hints
Since the possibilities as well as their advantages and disadvantages are as complex as the pictures to be framed, you will only get an overview of the different types and their aspects. It is not possible to make evaluations and recommendations from a distance. You are welcome to visit us or our partners on site or contact a restorer in case of doubt.
The methods presented here are aimed at the layman and can be implemented without prior knowledge, without damaging the picture during assembly. Due to the variety of papers and inks used, Halbe accepts no liability for the actual suitability.
We strive for the highest quality in the production and packaging of our frames. Please understand that we cannot influence all factors in the specific use of our products. Nor can we influence whether undesired reactions occur between the various materials used and the insert materials used, e.g. works of art. If necessary, the customer must always check the compatibility of the material.
Protection
The picture should not be damaged during the mounting. Neither when mounting, over the years in the picture frame, nor when later possibly framing out. Ideally, no permanent adhesion that leaves residues on the paper. If, only on the back and with age-resistant material that does not cause any discoloration on the paper and can be easily separated (as with a fold). Since this is quite complex to realize, depending on the requirements, some cutbacks have to be made.
Effort
Depending on the mounting requirements, their complexity also increases. The range extends from simple and quick insertion to gluing with self-cooked starch paste. Depending on the presentation, monetary as well as ideal value, it is important to find the best mounting method. Attaching a self-printed photo with paste would be as exaggerated as attaching an old original sketch of a great master with carpet tape.
Insert picture on Dibond flat
It is also possible to frame works on Dibond. This provides a wonderful stage that underlines its effect.
Tip:
Try out the possibilities on a leftover piece of your paper and get a feeling for the best presentation of your picture in the picture frame.
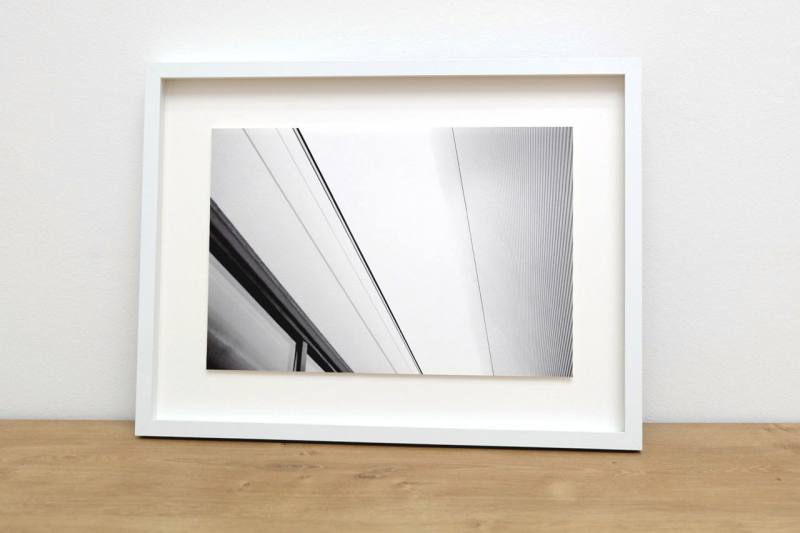
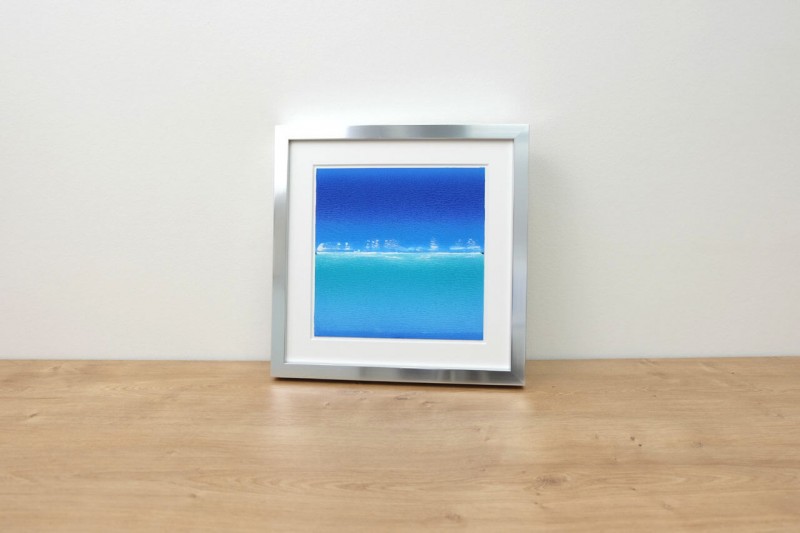
Insert flat in Distance
Inserted flat with depth effect - in distance magnetic frame. With distance from picture to glass.
Mounted freely with clear photo corners
Freely mounted on a background cardboard with clear photo corners. So special paper edges remain visible.
Freely mounted with Gudy Dot
Freely mounted with the Gudy Dot Roller in the distance magnetic frame to fully unfold the effect of the wavy paper.
Freely mounted with T-folds
Mount free-floating large works using stable T-folds.
Freely mounted with V-folds
A free-floating installation with V-folds made of self-adhesive tape. High-quality but also more complex mounting method.

Flat
The picture lies fully in the picture frame.
With passepartout
The picture is smaller than the frame and is surrounded by a passepartout and slightly covered.
Free floating
The picture is smaller than the frame and floats, either in a passepartout cut-out or in a distance frame, invisibly held in the frame.
Free floating on a pedestal
The picture is smaller than the frame and floats with an additional distance to the rear wall in a distance frame.
Depending on the type of presentation, one or more types of mounting are available:
Insertion
The picture is simply inserted into the frame without further attachment. The simplest, fastest and most classic type of framing, which, depending on the type of presentation, also meets the highest conservation requirements.
Another mounting method: Seams with reversible adhesives
The image is held on the reverse side with e.g. wet glue and seams made of special papers. Very complex type of mounting, which should only be carried out by specialists due to working with moisture, as the risk of damage is high. However, it meets very high conservation requirements.
Fixation with adhesive tape
The picture is fixed on the back with self-adhesive tape or double-sided self-adhesive tape. A very simple, fast method of mounting that meets low conservation requirements.
Photo corners
The image is held in place at four corners with clear plastic or paper corners. A simple and fast way of mounting that meets even the highest conservation requirements.
Seams made of self-adhesive tape
The picture is held on the back by special seams (special folded tapes) made of self-adhesive tapes. A more complex type of mounting, which satisfies medium conservation requirements.


Freely mounted with reinforced V-folds
For larger assembly work, it is recommended to use reinforced V-folds.
Insert picture in passepartout flat
The easiest way to frame with a passepartout.
Picture laid freely in the folding passepartout
The picture lies completely free in the section of the folding passepartout, fastened with adhesive dots.
Insert a smaller picture in a passepartout without glue
Also inserted without mounting material and aligned centrally in the passepartout cut-out. The glass pressure keeps the image in position.
Picture in passepartout mounted on the rear side
To secure the picture in the passepartout cut-out - especially for larger pictures - the picture is attached to the back of the passepartout with an adhesive strip.

Motif free in folding passepartout
The picture is mounted with photo corners made of paper and covered by the folding passepartout to such an extent that the photo corners disappear behind them, but the motif remains free.

Picture covered by a folding passepartout with photo corners
A small picture in the frame can also be mounted with photo corners and can be presented covered by the folding passepartout.
The possibilities of picture presentations are as versatile as the pictures themselves. The mounting of the pictures in the picture frame is just as versatile. Depending on your wish to present your own picture, the material of the object and your own demand for value retention, different craftsmanship is required.
On the following pages you will find expert tips and instructions on the various possibilities of picture presentation and which types of mounting are available to you for the perfect framing of your picture. With the help of our step-by-step instructions, you can quickly and easily implement the picture mounting yourself with little preparation.

Picture free floating mounted on a pedestal
This mounting gives the Dibond a special depth effect due to the resulting shadow gap between the object and the rear wall.
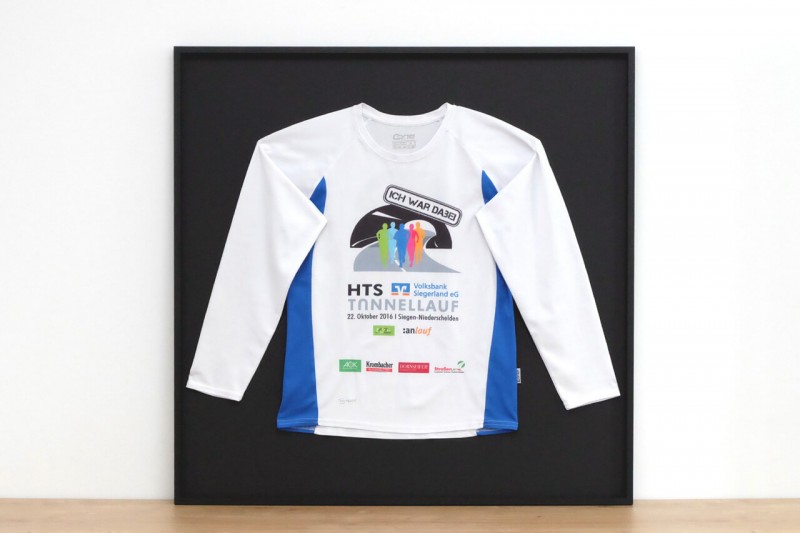
Mount jersey with magnets
Mount jerseys or T-shirts freely with the help of magnets.

FREELY MOUNTED WITH PINS
Mount pictures freely with the help of pins.
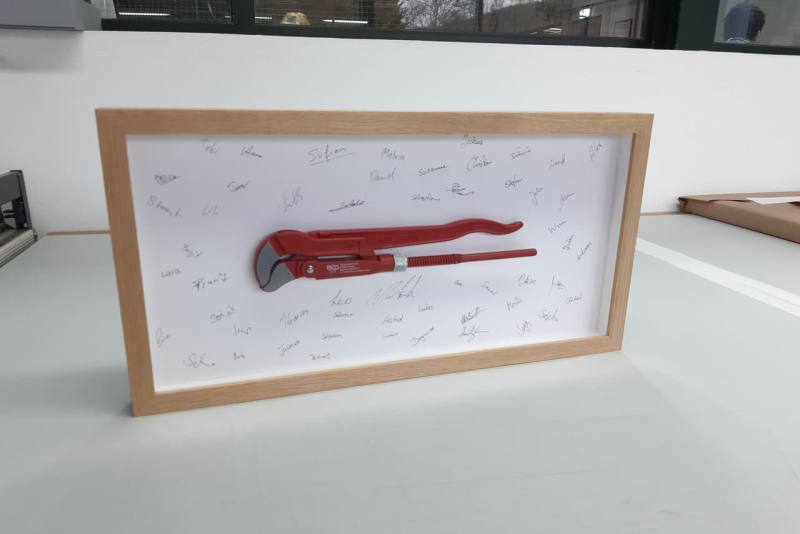
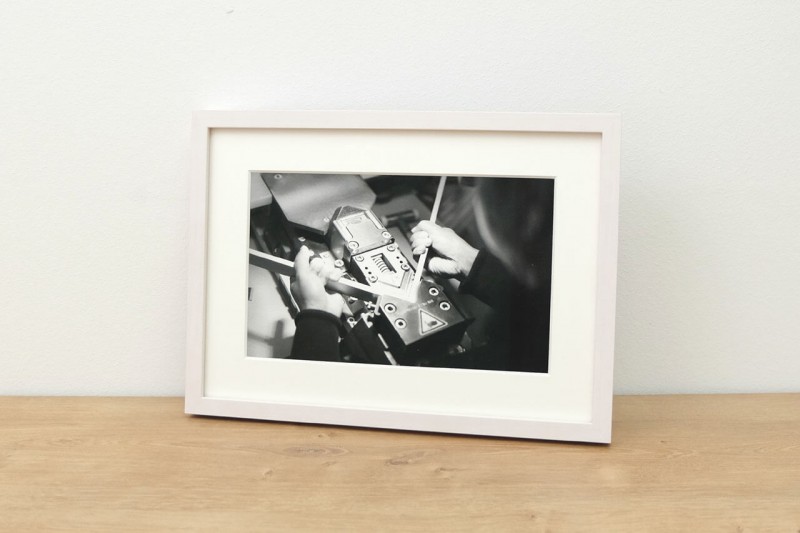
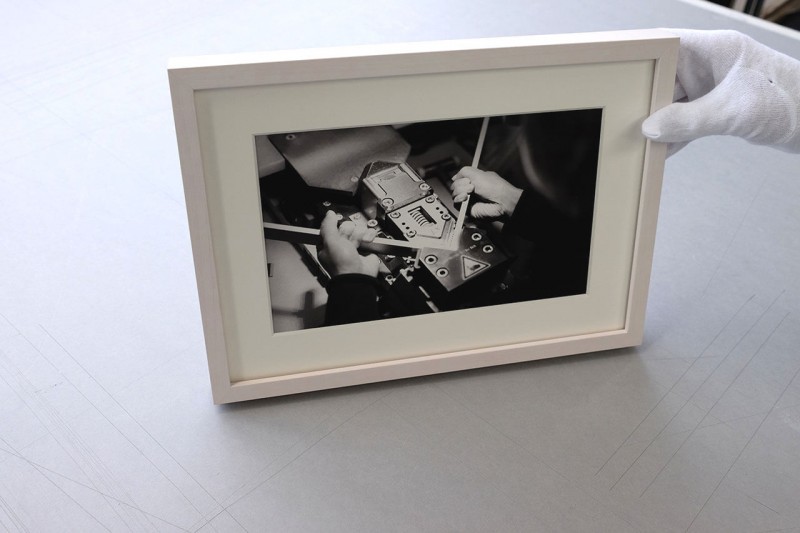
Mount pliers with hot glue
Mount an object in a Distance picture frame.

Mount flag with magnets
Mount a flag in a Distance picture frame.
Blechschild mit Nägeln montieren
Montieren Sie ein Retro-Blechschild stilgetreu mit Nägeln in einem Distance Bilderrahmen.

Zange mit Heißkleber montieren
Montieren Sie einen Gegenstand in einem Distance Bilderrahmen.
Blechschild mit Nägeln montieren
Montieren Sie ein Retro-Blechschild stilgetreu mit Nägeln in einem Distance Bilderrahmen.
Fahne mit Magneten montieren
Montieren Sie eine Fahne in einem Distance Bilderrahmen.
Objekte frei schwebend montieren

Framing a silk scarf with a passepartout
In the CLASSIC frame, your silk scarf is already held in position by the passepartout and the glass. For additional depth, mounting in the DISTANCE is also possible.
Framing a silk scarf with a passepartout
In the CLASSIC frame, your silk scarf is already held in position by the passepartout and the glass. For additional depth, mounting in the DISTANCE is also possible.
Framing a silk scarf with a passepartout
In the CLASSIC frame, your silk scarf is already held in position by the passepartout and the glass. For additional depth, mounting in the DISTANCE is also possible.
Framing a silk scarf with a passepartout
In the CLASSIC frame, your silk scarf is already held in position by the passepartout and the glass. For additional depth, mounting in the DISTANCE is also possible.