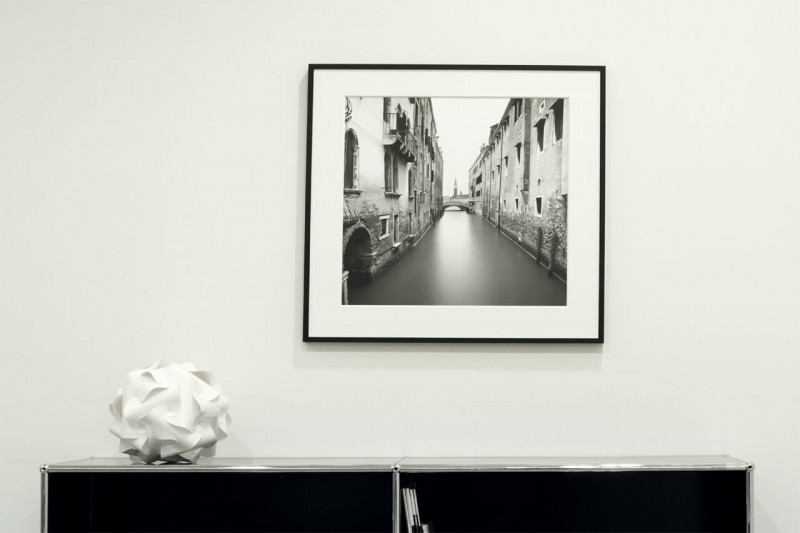
HANG UP SINGLE PICTURES QUICKLY AND EASILY
Hanging up a picture the right way
Giving a beautiful memory or a special work of art a place of honour in the room is quite easy by hanging the picture in the matching picture frame individually on the wall.
With the right tools and our tips from the experts, your picture will be hanging securely in the perfect place in no time!
Optional paraphernalia:
- Line finder
- Cleaning cloth
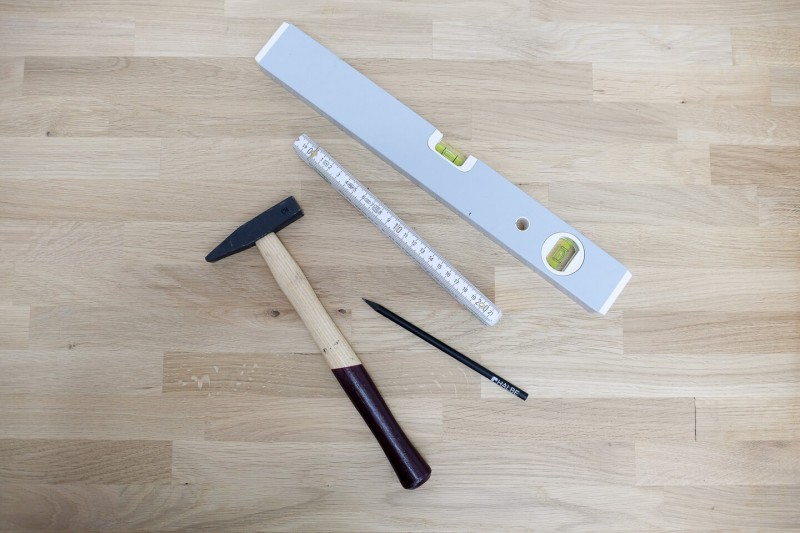
Tools:
- Hammer
- Spirit level, line laser or string
- Pencil
- If necessary, a drill with impact and suitable masonry drill bit
Here's how it works:
1. Check position
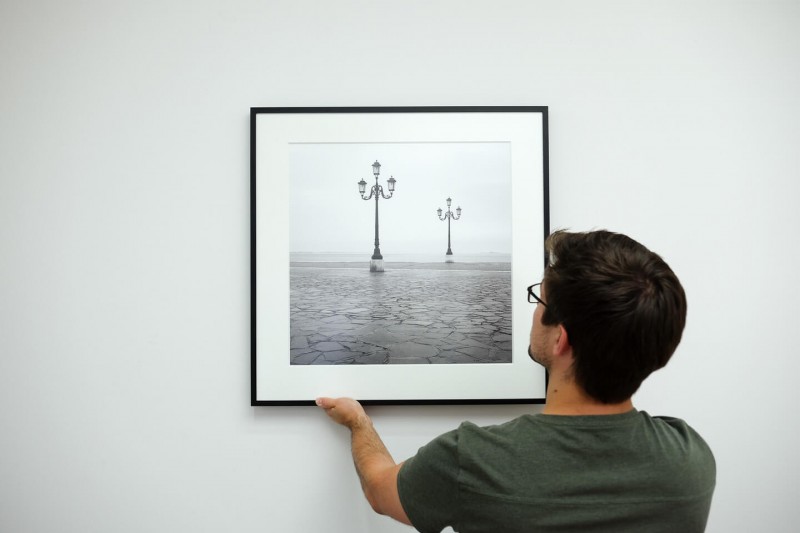
Once you have decided on the position of the picture, you can have a second person hold the picture up to the wall as a test to check the placement again before you hang up the picture.
2. Prepare
Lay out all the tools so that everything is ready to hand later.
4. First suspension point
Now measure the distance from the centre of the first suspension hole to the side of the frame, and the distance from the top edge of the hole to the top edge of the frame. Add these values to the position of the fixed point and mark the first hanging point.
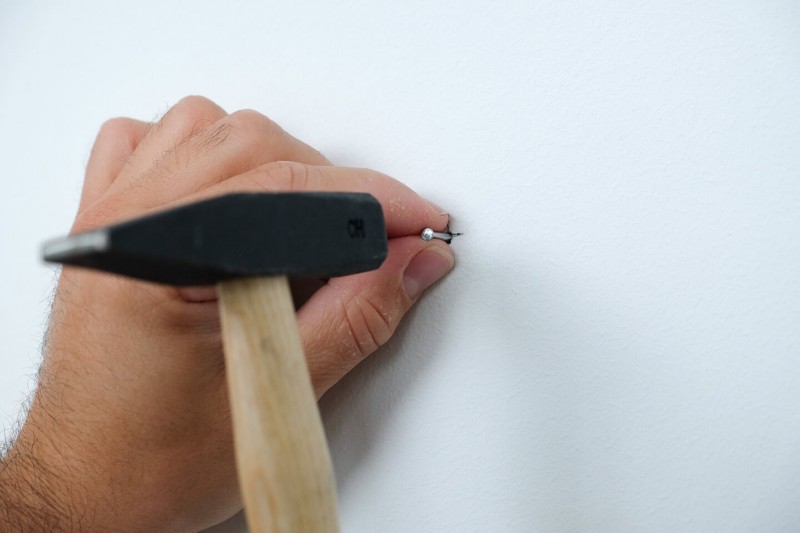
Now you can hammer the first nail into the wall at a slight angle from above, so that it still protrudes about 10mm from the wall. Alternatively, pre-drill a hole, drive in a dowel and screw in an (angle) screw.
5. Second suspension point
Measure the distance from center to center of the two hanging holes. Now you have several possibilities to mark the second point:
a) Folding rule and spirit level
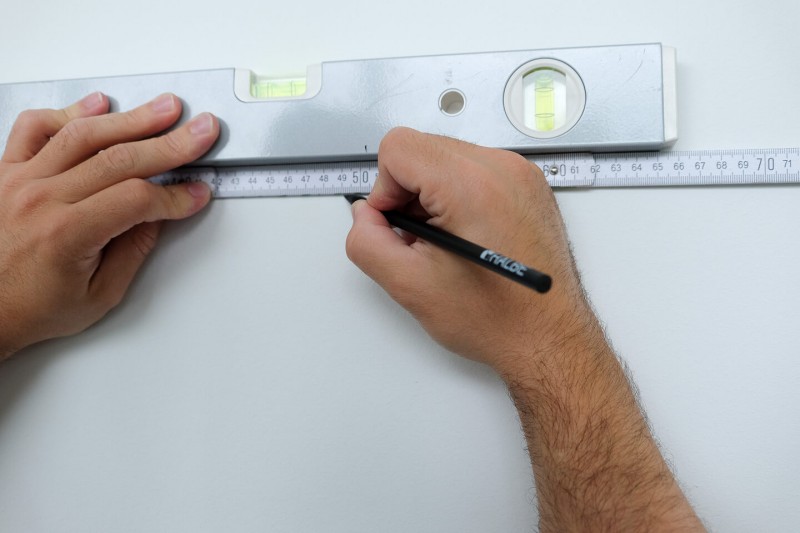
Place the folding rule against the first nail/screw from above. Check with the spirit level and mark the second point.
b) Line laser
Bring the laser line to the level of the first hole. Mark the second point.
c) String
Tie a string to the first nail/screw and level it with a spirit level. Mark the second point.
Now the second nail or screw can be placed in the wall as in step 4. Done!
4.a. Single-point suspension
Now you can hammer a nail into the wall at the marked point at a slight angle from above so that it still protrudes approx. 10mm from the wall.
4.b. Two-point suspension
Measure the distance between the two suspension holes of the frame and divide it by two. Place a long spirit level at the marked center point and measure half the distance to the left and half the distance to the right from there. Now you can mark the hanging points and hammer the nails into the wall at a slight angle from above so that they protrude about 10mm from the wall.

Tip
From a frame size of approx. 50x40cm you should use screws with dowels. To do this, drill holes at the marked suspension points with a suitable drill, insert the dowels and screw in the screws so that they still protrude approx. 10mm from the wall.


Accessories:
- Matching nails or matching screws and dowels
Required utensils
Tip
The ideal height for pictures is 155 cm from the floor to the centre of the picture. This is the museum rule, according to which the center of the image will be perfectly at eye level.

3. Sketching a fixpoint
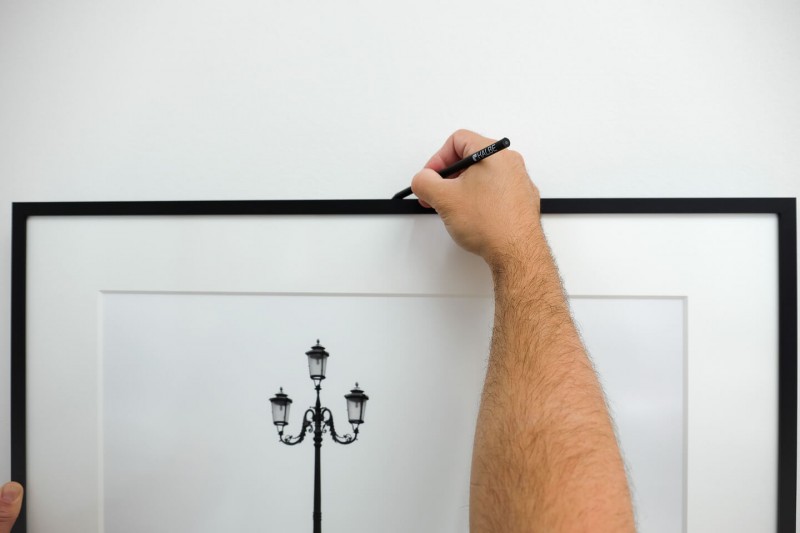
When a second person holds the frame in the desired position, you can sketch a fixpoint on the wall, for example the upper left/right corner of the frame.

The first steps
Method 1: Quick and easy
Want to get a small to medium sized picture on the wall quickly? Then the following further steps are usually sufficient to get a beautiful result:
3. Determine & mark height
Now determine the line on which to drive the nail or nails. If a second person holds the frame, you can simply slide it a few millimeters lower and mark the center of the frame on the wall.
Method 2: Accurate to the millimetre
Do you have a larger frame where the spirit level won't reach from hole to hole? Or would you rather work accurate to the millimeter? Read our professional tips for the perfect suspension here:


